

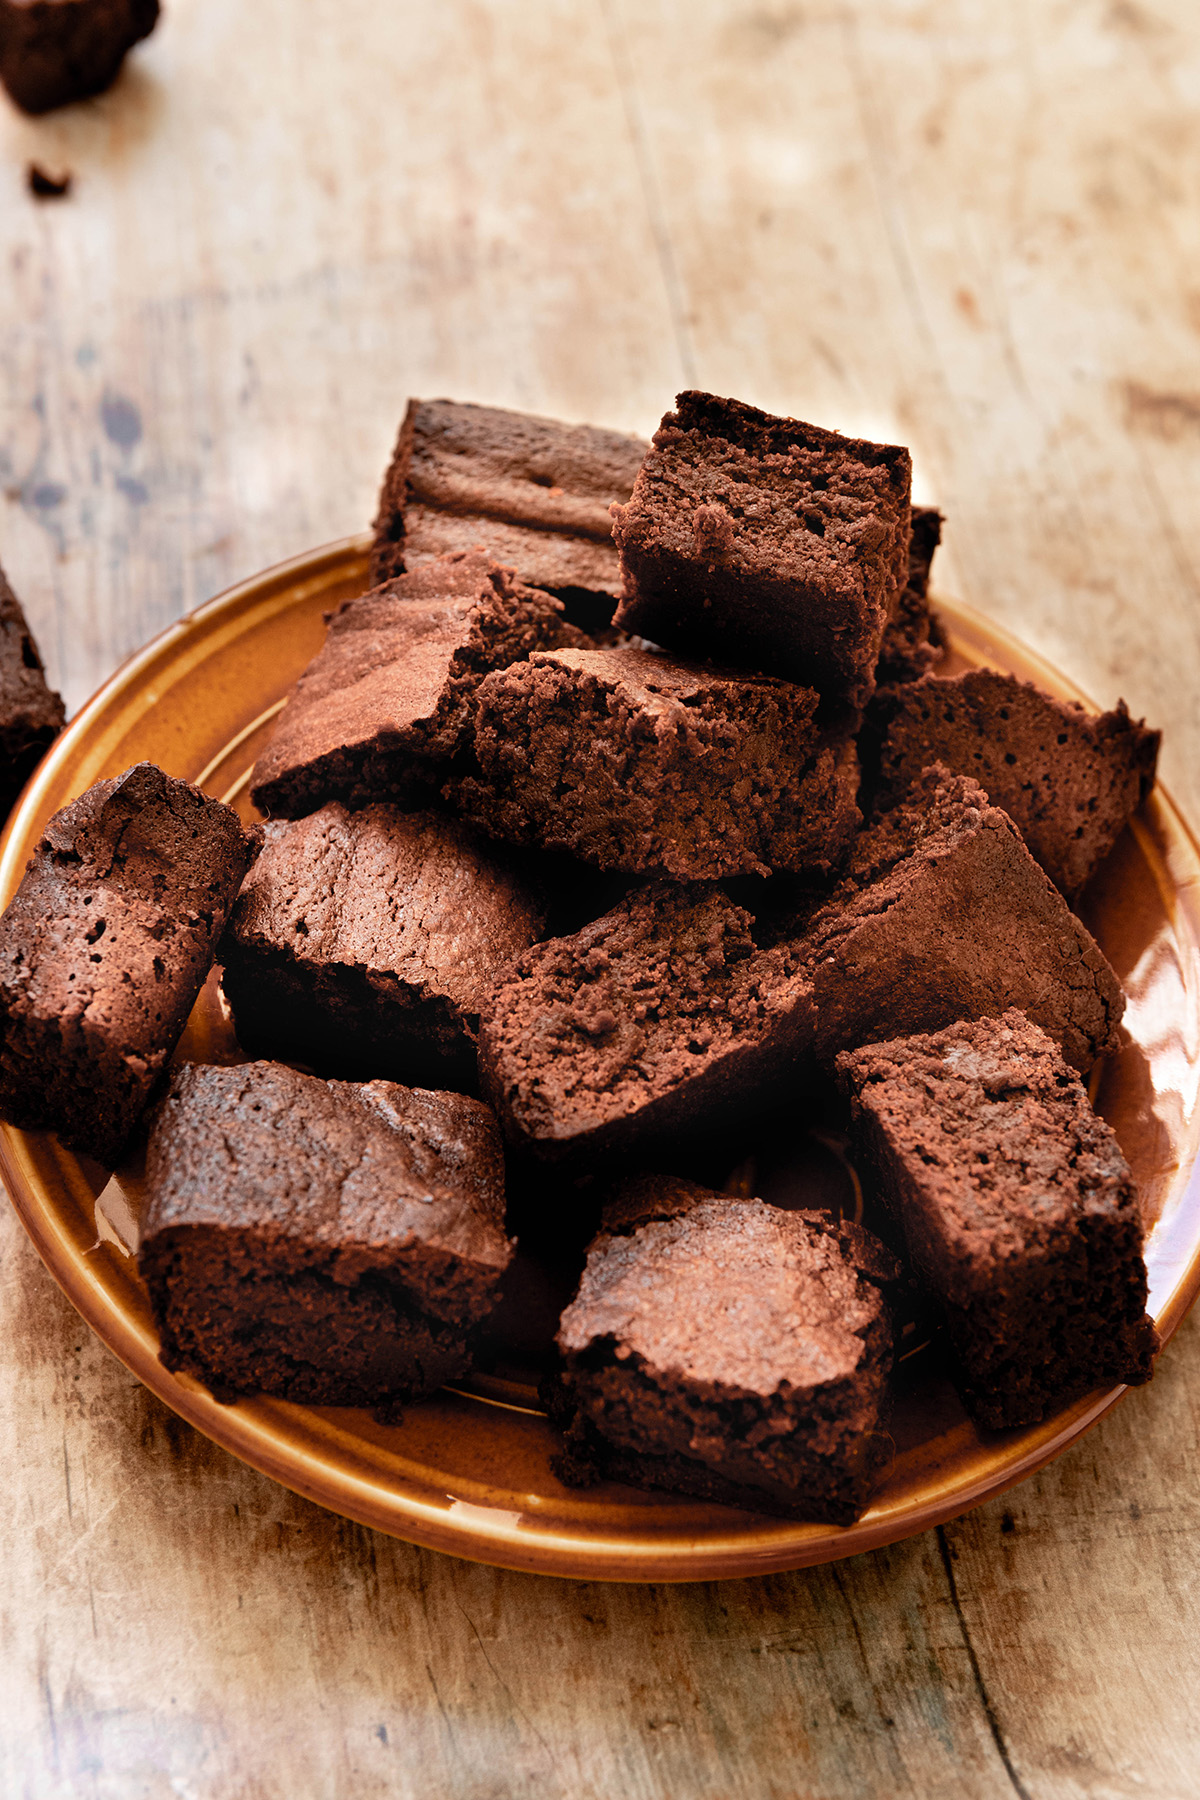
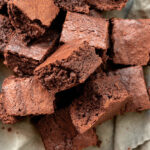
This one bowl miso brownies recipe is the perfect brownie recipe. A blend of dark chocolate chips and white miso paste, the umami flavor pairs with the chocolate to create delicious fudgy miso brownies.

These are my new favorite brownies. It was previously a tie between my espresso brownies and smores brownies but these miso brownies take the cake. You do not need a separate bowl to make them, this is a one bowl recipe. The brownies themselves so fudgy and delicious. This is so much better than a boxed brownie mix and will be one of your favorite brownie recipes in no time. They do not take a long time to prepare and
📜 Recipe Tips for Success + Alterations:
If you want to add different types of chocolate to the recipe such as white chocolate or milk chocolate you can do so. you can do this after you have mixed the wet ingredients and the dry ingredients. Fold in the chocolate chunks or chips.
Coffee can enrich flavor so if you want to add coffee powder to this recipe, be sure to use an instant coffee or instant espresso powder
Sometimes browning butter can add a nutty richness to a dish. However, in this recipe it does not due to the deep flavors of the chocolate and miso.
You do not need to use an electric mixer for this recipe, I like to mix everything by hand.
📜 What ingredients do you need for these miso brownies?
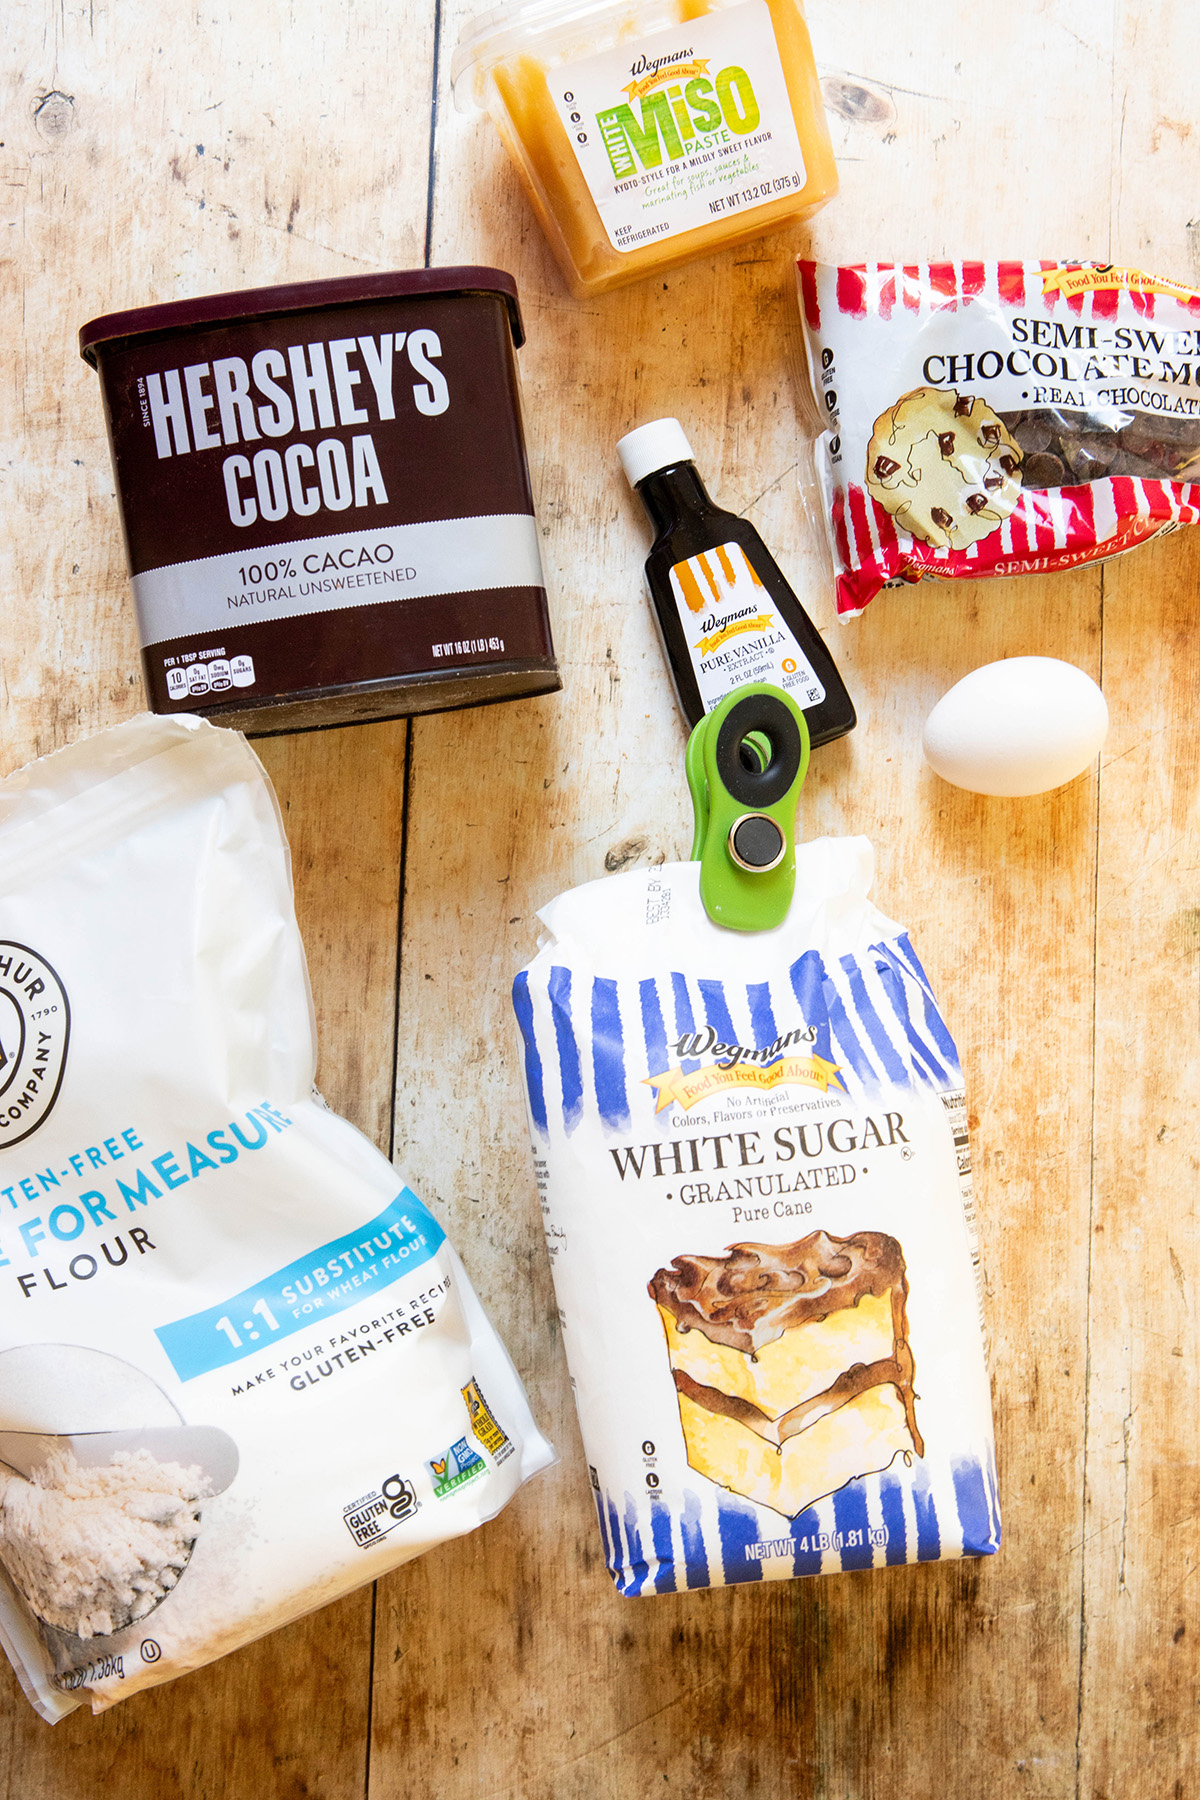
Butter: I use unsalted butter in my recipe but you can use salted if you would like to have some extra saltiness
Miso: while traditionally used in savory recipes, miso is excellent in sweet dishes and desserts to balance the flavor. I have a miso caramel recipe as well as several miso cookie recipes. Only use white miso- red miso is used for recipes like soups and sauces.
Eggs: Eggs are one of the binding agents in this recipe
Dark Chocolate Chips: I like to use dark chocolate in brownies. I like the flavor that it gives.
Cocoa Powder: I like to use both cocoa powder and dark chocolate in my brownies. The chocolate mixture helps with the fudgy aspect of the recipe.
Vanilla Extract: Despite the fact that it is a chocolate based recipe, vanilla helps enhance those flavors.
White Sugar: Our sweetener for our recipe
Flour: I use a gluten free all purpose flour (specifically King Arthur Measure for Measure) but you can use whatever flour you like so long as it is all purpose. If it is gluten free, make sure it has xanthan gum in it.
📜 How do you make miso brownies?
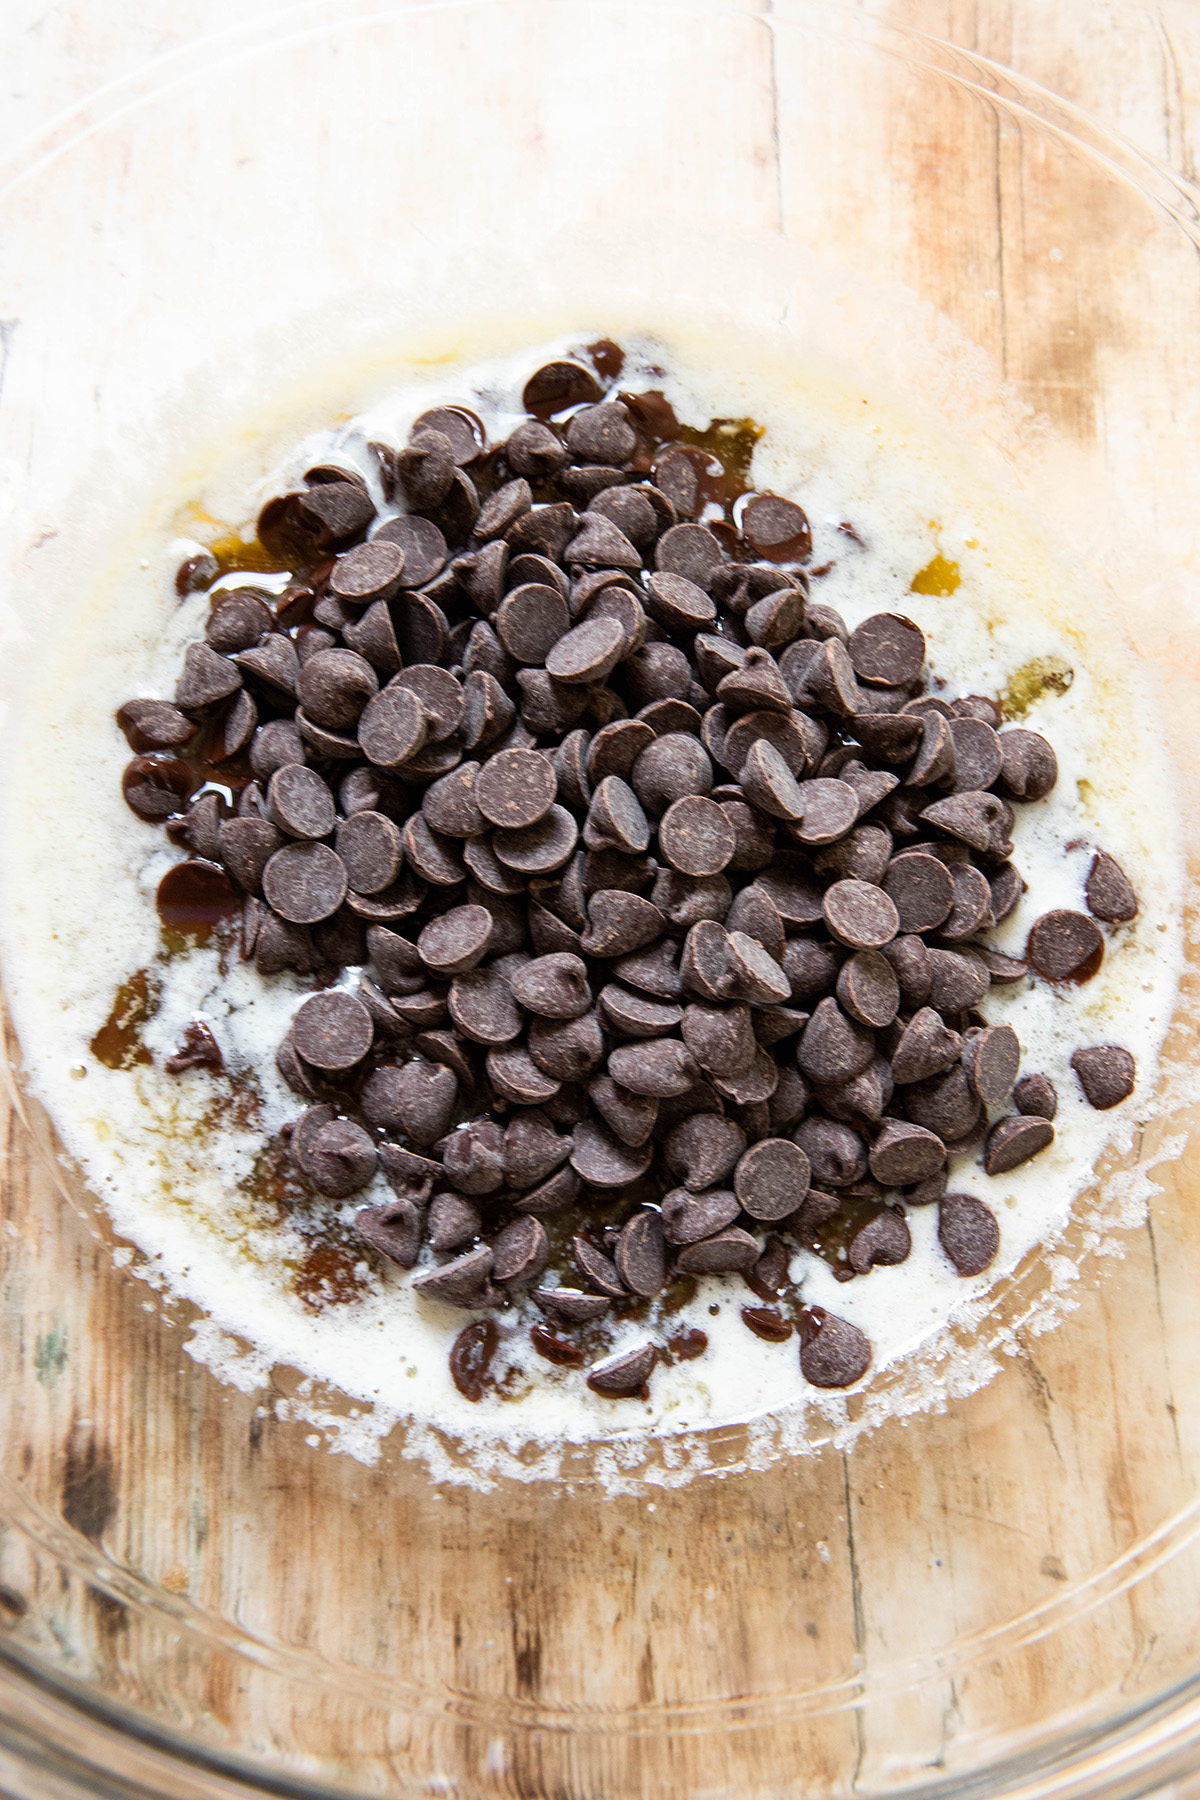
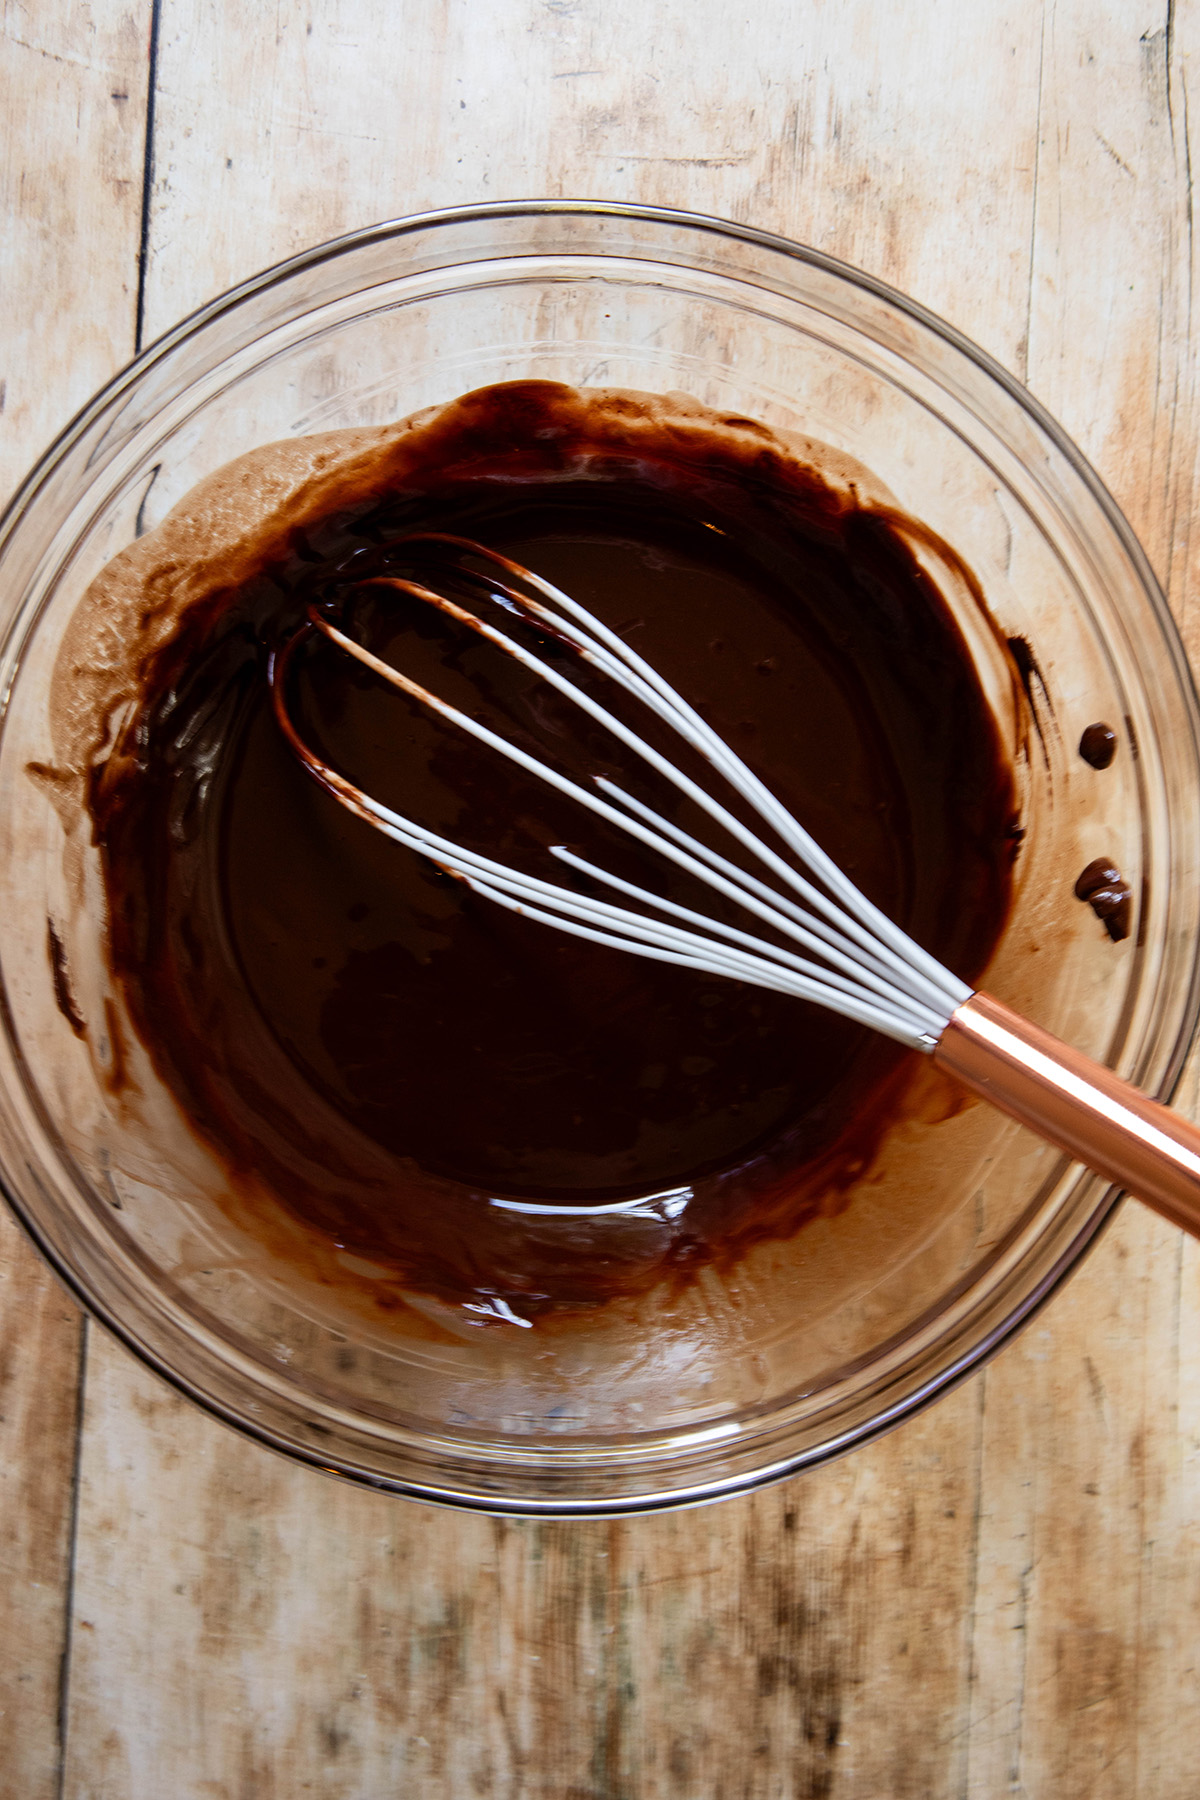
Combining the Butter and Chocolate: In a large mixing bowl (use heat-proof bowl) melt the butter in a microwavable safe bowl. Once the butter is completely melted, add the chocolate chips to the bowl and whisk together. They should all melt to form a beautiful chocolatey mix.
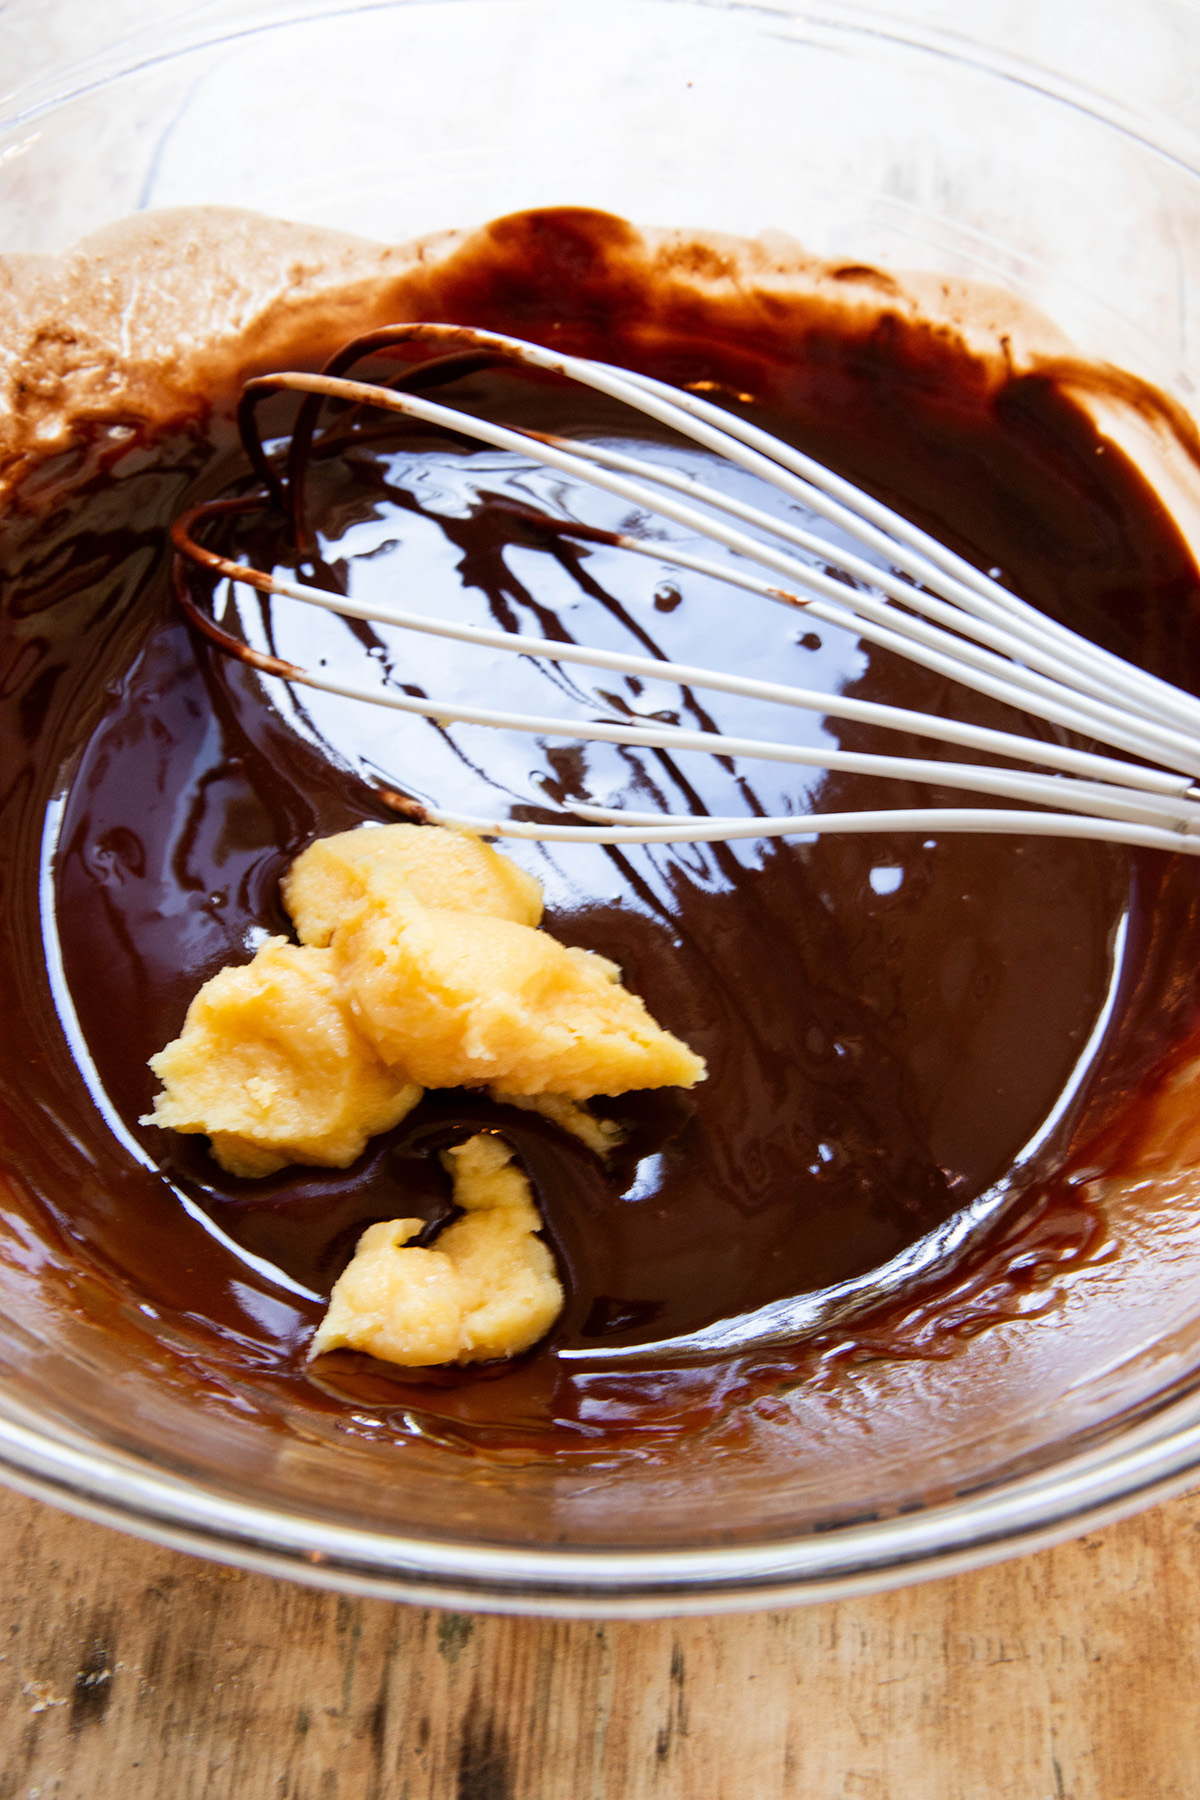
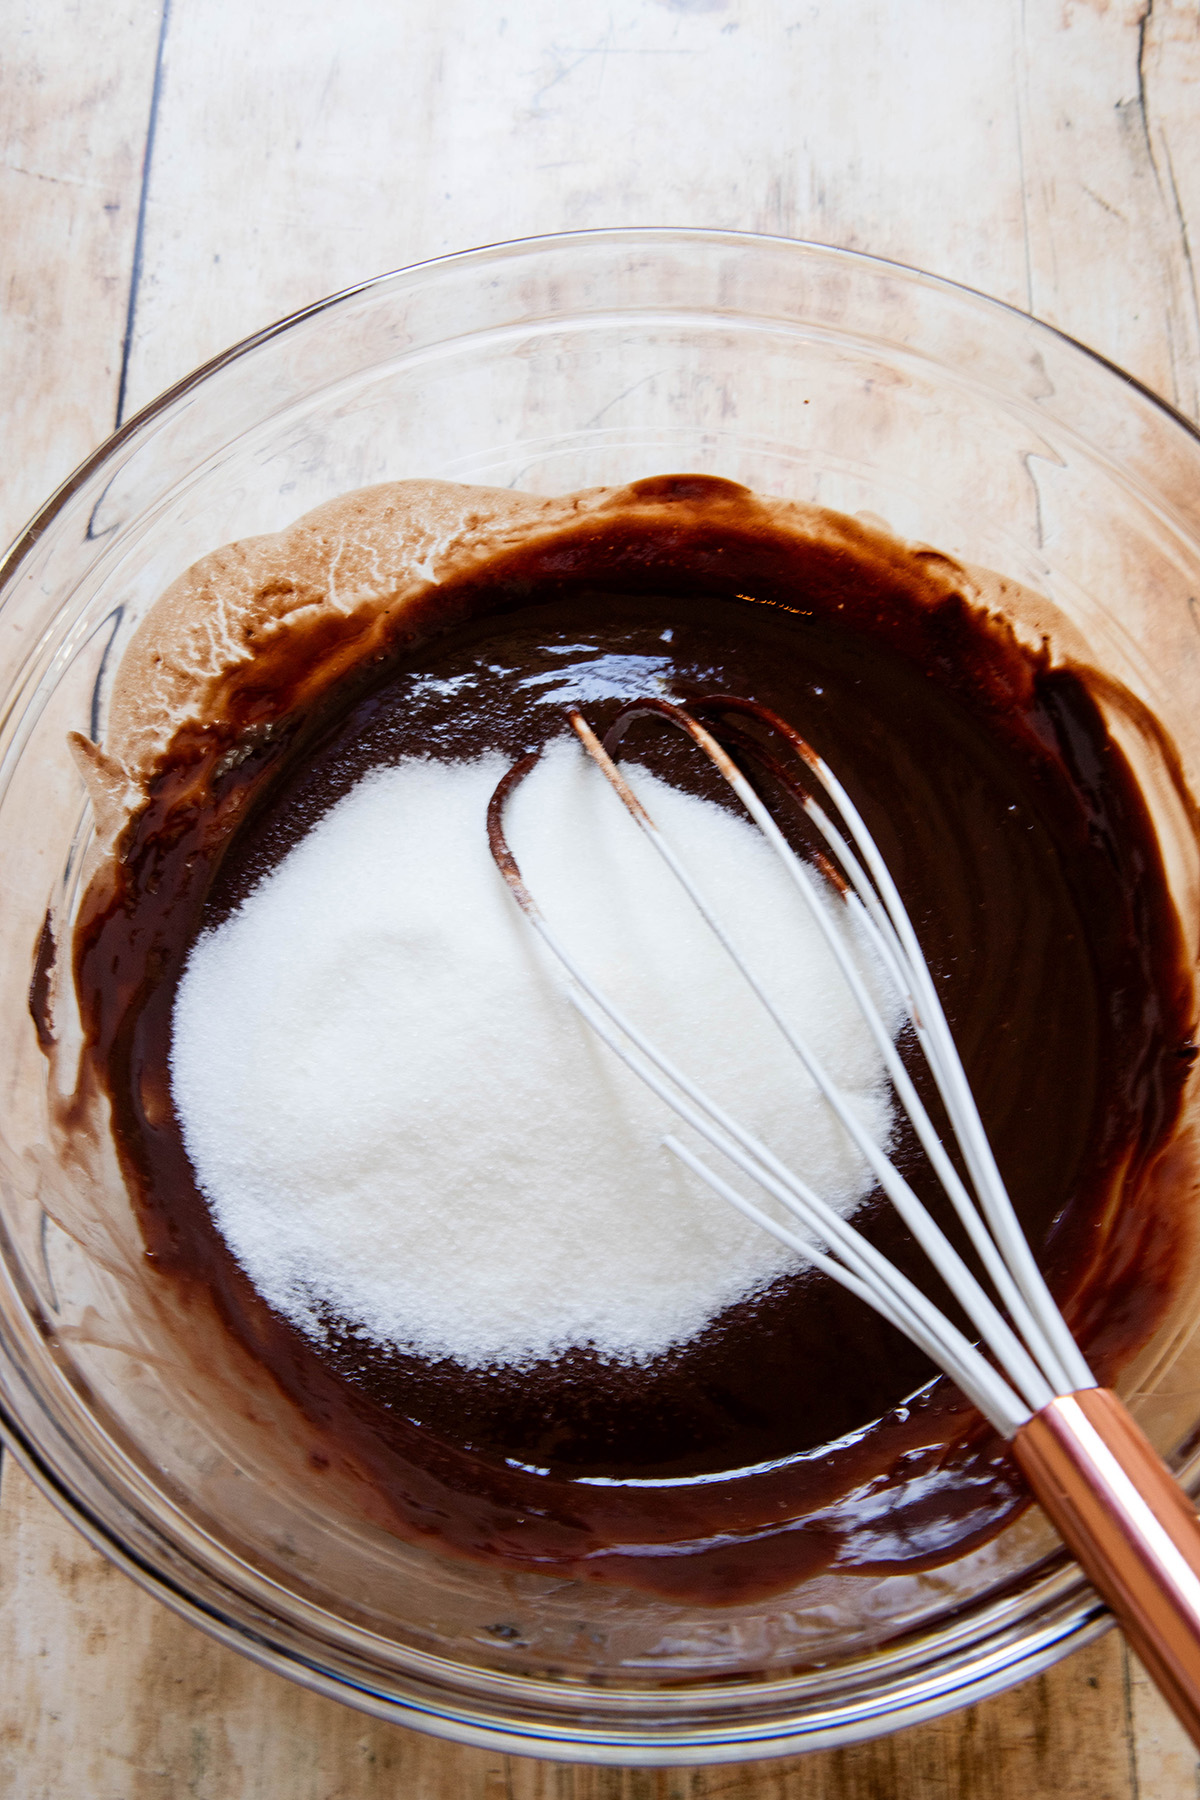
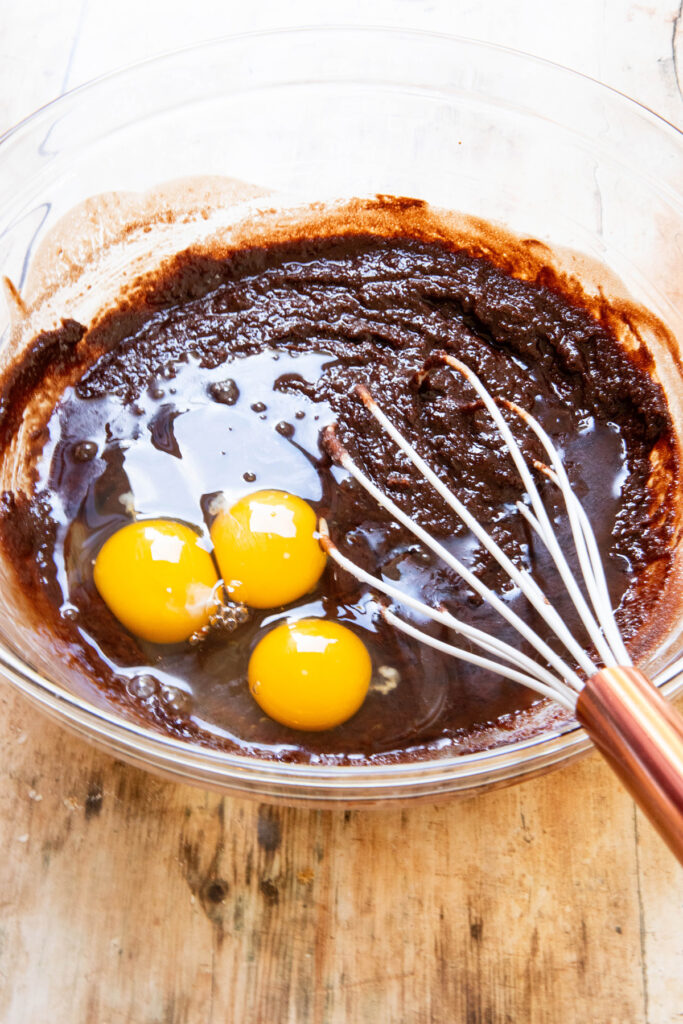
Adding the Sugar, Vanilla, Miso, and Eggs: Add the miso first and whisk. Whisk in the sugar. Then add the eggs one at a time and whisk until the batter thickens. Finally add the vanilla and whisk once more.
Mixing in the dry ingredients: Add the flour and cocoa powder to the brownie batter. Switch out the whisk for a spatula now and fold in the ingredients. Once they are practically all mixed in.
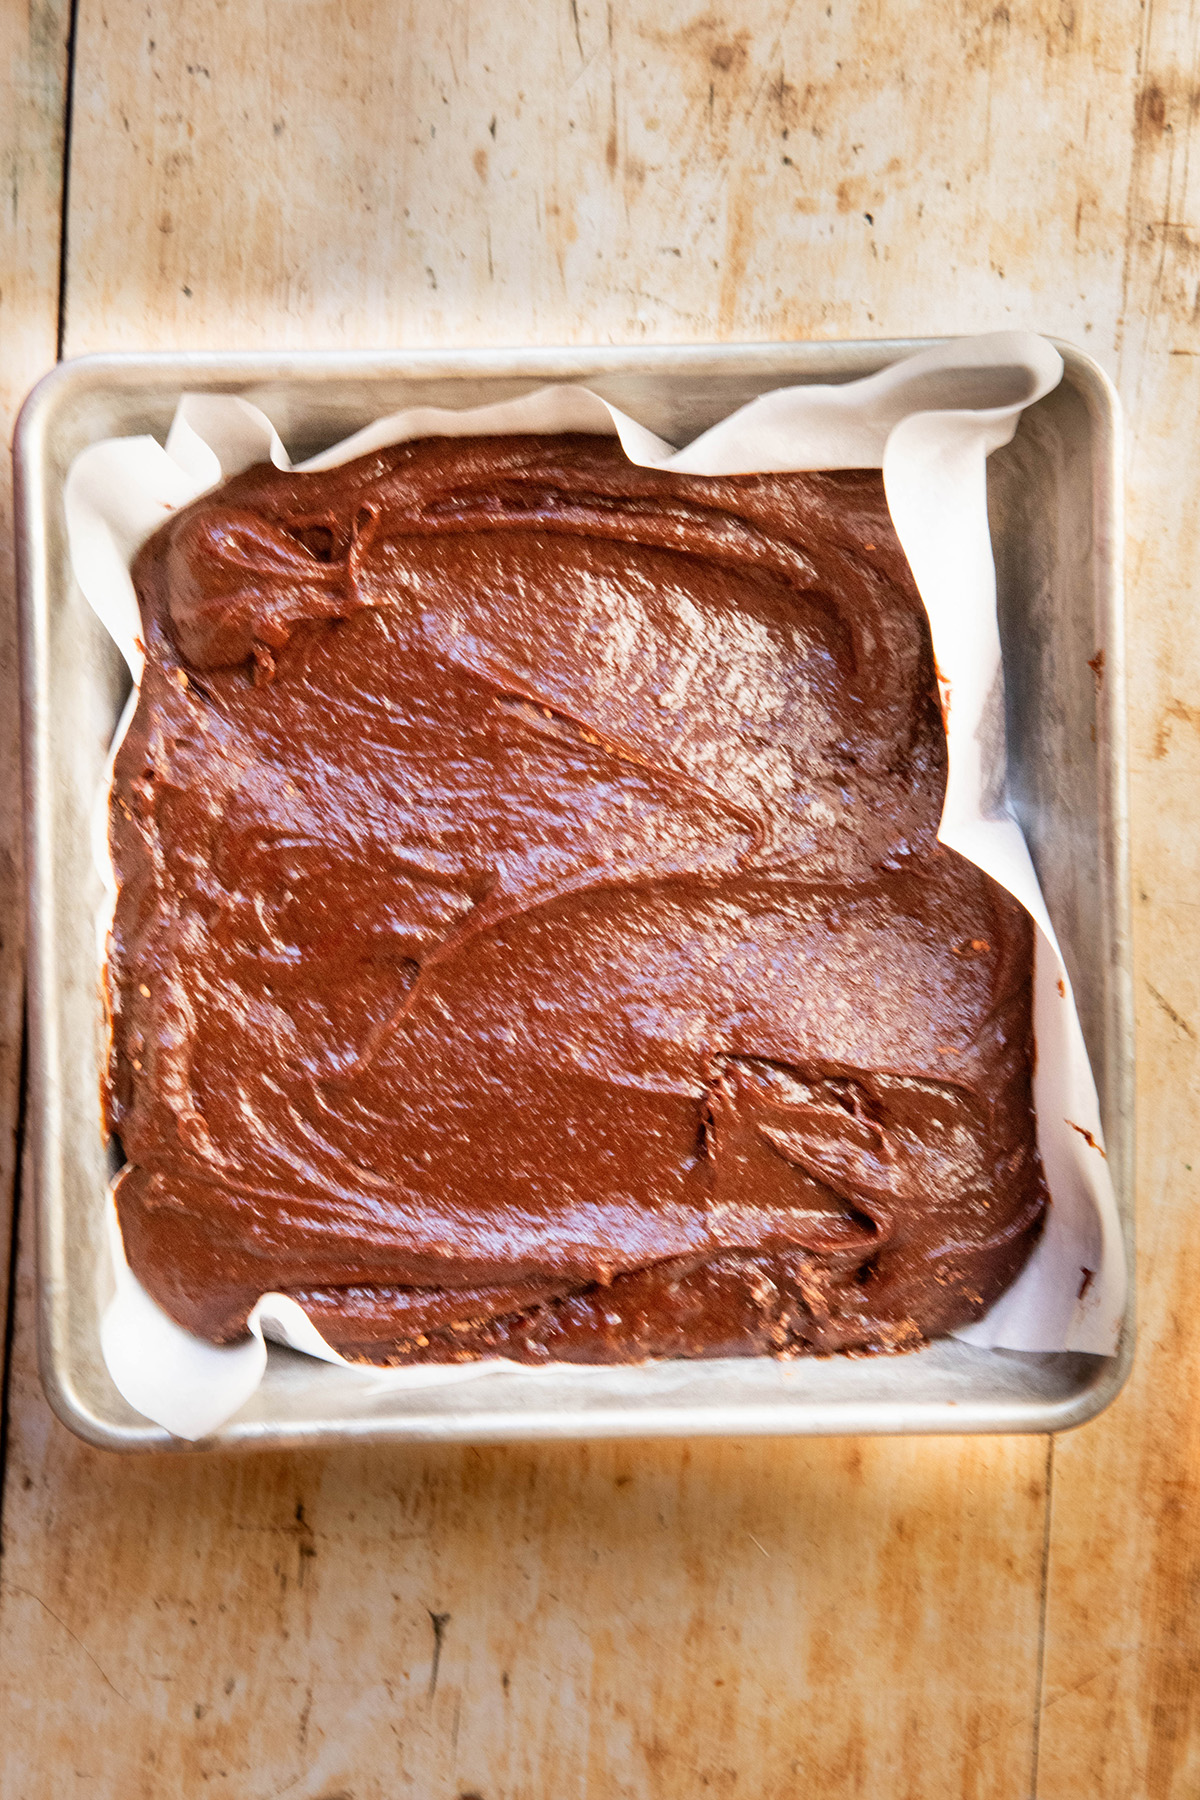
Baking: Set the oven to 350°F. Create a prepared pan by lining a baking dish (I used 9×13 but you can use 8×8) with parchment paper (it is easier if you grease the bottom first). Place mixture into the baking dish and smooth the top with a rubber spatula or palette knife. Place the baking dish onto the middle shelf of the oven. If you are using a 9×13, bake for 28 minutes. If you are using an 8×8 bake for 40-45 minutes. Check for doneness when removing from the oven with a toothpick. If you want them to cook up a bit more, place back in for 3 minutes at a time. Allow them to cool before you cut into them. The color will be a dark brown with a few cracks on the top.
Note: If you want some extra saltiness to your brownies, use sea salt flakes on top or kosher salt before you put the lined tin into the oven.
These brownies would go amazingly with ice cream, a salted caramel, or my miso caramel.
When you are done with this sweet treat, try some of my Chocolate Raspberry Tart.
🍱 How to store these miso brownie bites:
I cut up the brownie so that it is more brownie bites but you can cut them how you like. you can either store them in an airtight container on the counter for 3-5 days (same with the fridge) or, you can store them in a freezer safe bag. In you choose to freeze them (they do great if you freeze them) you can store them for up to 3 months. Just mark on the bag when you froze them. When you want to eat them, take out of the freezer, leave on the counter until desired temperature. I like to freeze them as individual brownies, so, I would advise cutting them before freezing.
🌟 LEAVE A RATING AND REVIEW! 🌟
⭐️⭐️⭐️⭐️⭐️
Did you love this recipe? If you did, let me know! And let others know too by leaving a comment and star rating. Reviews are incredibly useful in helping other people find my site and make my recipes. Thank you so much!
Laura
Find Other Miso Recipes
Fudgy and Gooey Chocolate Miso Brownies Recipe!
- Total Time: 45 minutes
- Yield: 12 People
Description
This one bowl miso brownies recipe is the perfect brownie recipe. A blend of dark chocolate chips and white miso paste, the umami flavor pairs with the chocolate to create delicious fudgy miso brownies.
Ingredients
- 3 Eggs
- 8 tablespoon Unsalted Butter
- ¼ cup Cocoa Powder
- ½ cup Gluten Free Flour (I use King Arthur Measure for Measure flour but you can use regular AP flour if you are not Gluten Free)
- 1 cup Dark Chocolate Chips
- 4 tablespoon Miso Paste (White Miso Paste)
- 1 cup Sugar
- 1 teaspoon Vanilla Extract
Instructions
- Combining the Butter and Chocolate: In a large mixing bowl (use heat-proof bowl) melt the butter in a microwavable safe bowl. Once the butter is completely melted, add the chocolate chips to the bowl and whisk together. They should all melt to form a beautiful chocolatey mix.
- Adding the Sugar, Vanilla, Miso, and Eggs: Add the miso first and whisk. Whisk in the sugar. Then add the eggs one at a time (or all at once) and whisk until the batter thickens. Finally add the vanilla and whisk once more.
- Mixing in the dry ingredients: Add the flour and cocoa powder to the brownie batter. Switch out the whisk for a spatula now and fold in the ingredients. Once they are practically all mixed in.
- Baking: Set the oven to 350°F. Create a prepared pan by lining a baking dish (I used 9×13 but you can use 8×8) with parchment paper (it is easier if you grease the bottom first). Place mixture into the baking dish and smooth the top with a rubber spatula or palette knife. Place the baking dish onto the middle shelf of the oven. If you are using a 9×13, bake for 28 minutes. If you are using an 8×8 bake for 40-45 minutes. Check for doneness when removing from the oven with a toothpick. If you want them to cook up a bit more, place back in for 3 minutes at a time. Allow them to cool before you cut into them. The color will be a dark brown with a few cracks on the top.
Notes
If you want some extra saltiness to your brownies, use sea salt flakes on top or kosher salt before you put the lined tin into the oven.
These brownies would go amazingly with ice cream, a salted caramel, or my miso caramel.
- Prep Time: 5 minutes
- Cook Time: 40 minutes
- Category: Baked Goods, Dessert
- Cuisine: American, Japanese
Nutrition
- Calories: 261
- Sugar: 22
- Sodium: 245
- Fat: 14
- Saturated Fat: 10
- Carbohydrates: 31
- Fiber: 2
- Protein: 4
- Cholesterol: 61
martie says
these look and smell and taste AMAZING -- thank you!!
Laura Sirkovsky-Kauffman says
So glad you love them 🥰