

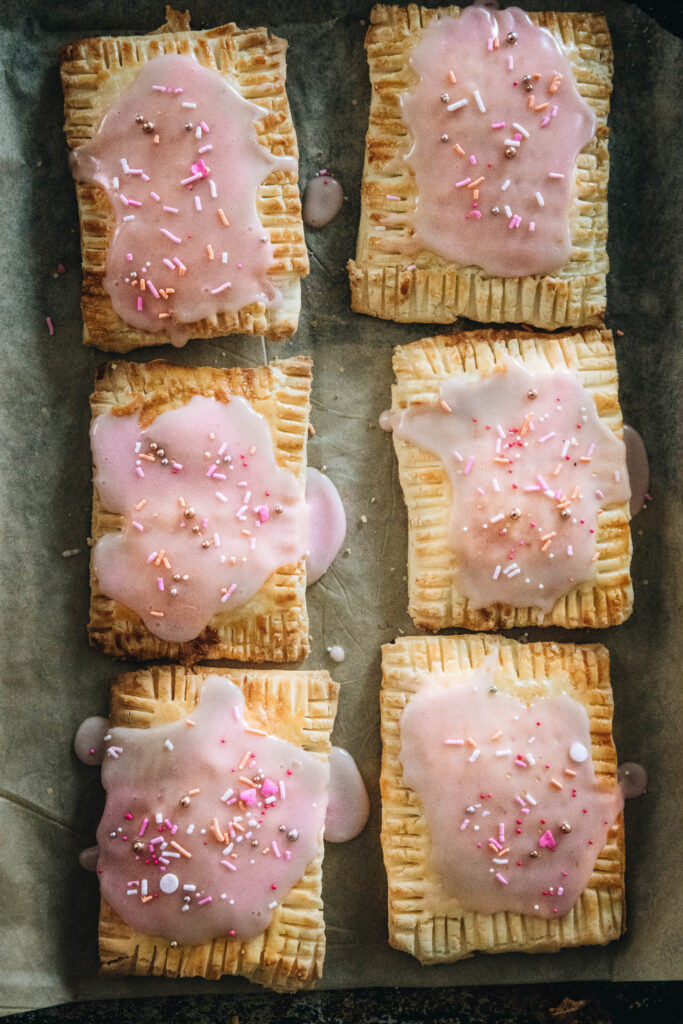
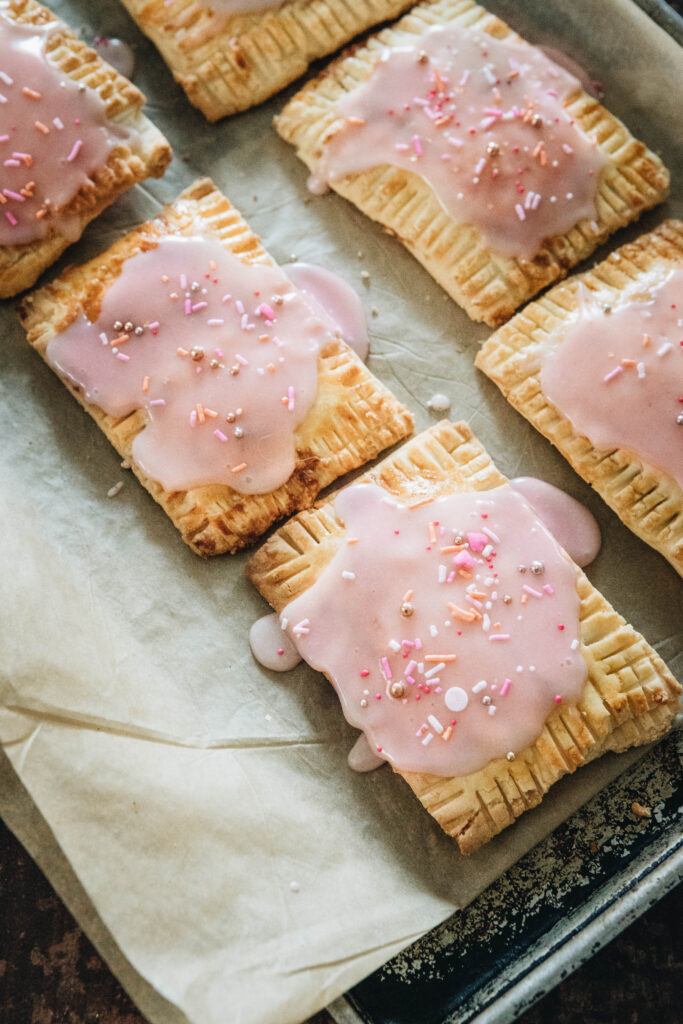
The perfect nostalgic food for any 90s kid, this gluten free pop tarts recipe tastes just as good as the original! Watch the video tutorial to see how to make this recipe gluten free without compromising on flavor, texture, and style. The prep time is quick making it the perfect treat.
We never had pop tarts in my house growing up. They were considered a junk food and it was not considered a proper breakfast. Pop tarts, for me, were reserved when I had sleepovers at friends houses whose parents did allow the delicious pastry treat to be served as breakfast! Strawberry pop tarts have always been my favorite (as I am a sucker for strawberry jam). So, let's live for our younger selves and make the best gluten free breakfast (or snack) and make this gluten free pop tarts recipe. The cook time is 20 minutes but the prep is a bit longer. It is a recipe that parts can be made in advance!
FAQ
What tools do you need for this recipe?
- Food processor
- rolling pin (for roll out the dough)
- parchment lined baking sheet
- parchment paper
- Fork - use a fork to crimp the pastry dough
- small bowl x 2 (one for filling, one for the glaze)
- cooling rack
What is the most popular flavor of pop tarts?
According to HuffPost (who appears to have conducted a survey), the strawberry pop tarts are the universal favorite. The runner up is Brown Cinnamon Sugar. The thing that is great is that once you know how to make gluten free pop tarts, you can use whatever filling you wish! The world is your gluten free pop tarts (who needs oysters right now).
Can I place these in the toaster?
While traditional pop tarts are toaster pastries, these are best in the oven. If you do not put the glaze on them and keep them in the fridge over night, you are welcome to try to put them in the toaster the next day (I myself have not done this).
Should I freeze my gluten free pop tarts?
I personally would not. It is like freezing a fruit hand pie, but, it is your choice!
Does Kellogs make a gluten free pop tart?
No, they do not make a gluten free pop tart. However, we now have you sorted that you can make gluten free pop tarts at home!
Can I make any substitutions or changes to this recipe?
Gluten free baking can be hard enough when you are trying to adapt a recipe. When you add in other dietary restrictions it can be even more difficult. I personally do not have any other dietary restrictions (except for bananas) therefore I offer only suggestions a lot of the time that I myself have not tried and tested. The gluten free flour that I like best for making gluten free pop tarts is Cup4Cup. This flour has dairy in it- so be advised.
I do not know how this would work dairy free. Dairy free pop tarts would be achievable if you can make a dairy free pastry dough. My pastry dough has butter in it, but, if you could use something like vegetable shortening (such as Crisco) that may be an option for you.
To make this recipe vegan, you would have to use a vegan butter or supplement in the pastry dough, as well as skip the egg wash that goes on top. In addition, some sugar is not considered vegan. You would need to check your powdered sugar to make sure there is no bone char listed in the ingredients.
The gluten free flour that I like best for making gluten free pop tarts is Cup4Cup. As stated above, Cup4Cup does have dairy in it. If you need to be dairy free, then it is best you avoid this gluten free flour blend. If you do not need to be dairy free, then this is the flour blend I suggest. Not all gluten free flour blends are created equal and when you use different flours, you can end up with less than desirable results. If you are not able to use Cup4Cup then I advise using King Arthur Gluten Free Measure for Measure flour blend. Make sure your mix has xanthan gum in it.
What toppings can I use on my gluten free pop tarts?
As stated above, once you know how to make a gluten free pop tart, the possibilities are many! If you are not a fan of glaze, you could always use granulated sugar on top after you apply your egg wash (the egg wash will help it stick). The granulated sugar will give the gluten free pop tarts a nice sweet bite when you taste it.
You can also do different types of glazes on top. If you want to maintain the strawberry jam filling but do not want a strawberry jam glaze, then you could make a vanilla glaze by subbing out the jam and using pure vanilla extract.
Sprinkles are entirely optional. I think they just make the gluten free pop tarts look more festive and fun. I typically advise that you let the gluten free pop tarts cool completely prior to placing the glaze on top. If you do not let them cool completely, if can cause the glaze to run off a bit too much.
I only have granulated sugar, can I use this instead of powdered sugar for a glaze?
The answer is no. The glaze requires powdered sugar because of how fine the sugar is. It allows the glaze to be smooth. Granulated sugar makes it grainy. You would not want a grainy glaze on top of your gluten free pastry!
How do I store my gluten free pop tarts?
I like to store mine in an airtight container in the fridge for 3 days. Similar to a hand pie. I do not feel the need to wrap them each individually in plastic wrap.
What ingredients do you need to make gluten free pop tarts?
One Pie crust recipe:
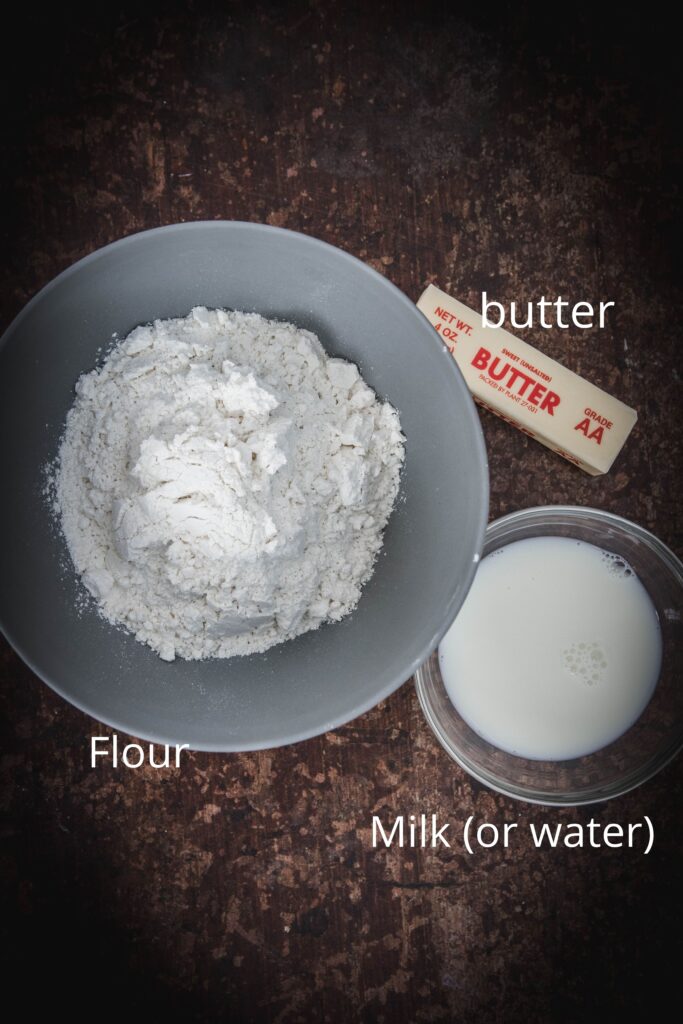
- 1 ½ cups Gluten Free Flour Blend (I like Cup4Cup- make sure whatever mix you use has xanthan gum in it)
- 8 tablespoons Unsalted Butter (cold- not room temperature)
- 5 tablespoons ice water (or milk)
-1 egg
Filling & Glaze:
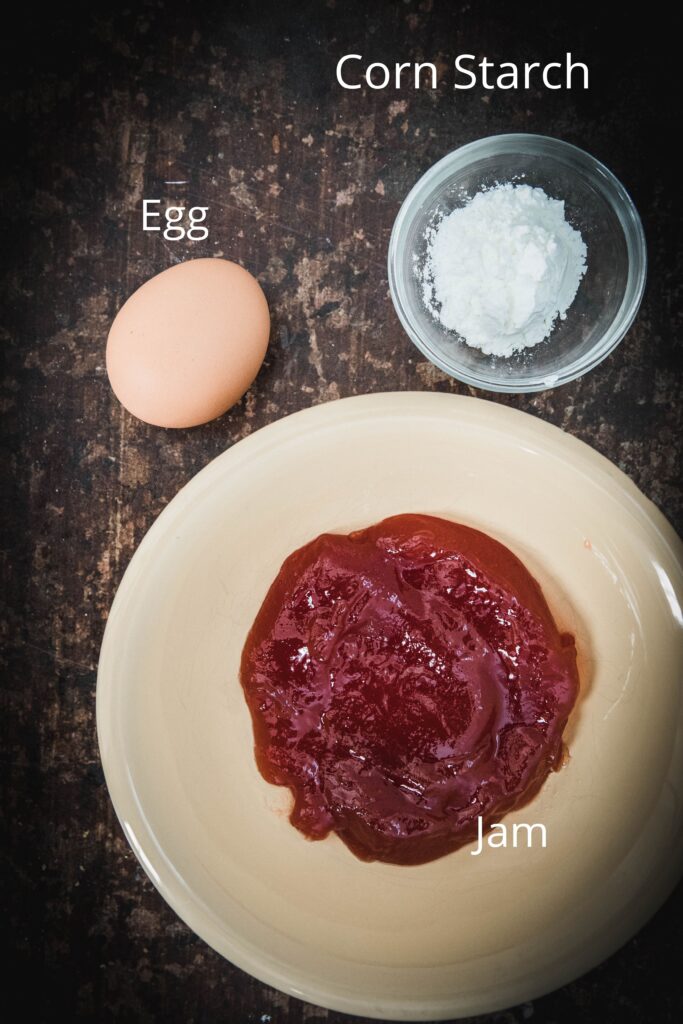
- ½ cup Strawberry Jam
- 1 Egg (for the egg wash)
- 1 tablespoon Cornstarch
- 1 cup Powdered Sugar
- 1 teaspoon Milk (add more if you need it- for glaze)
- 1 tablespoon Strawberry Jam (for glaze)
How do I make this recipe?
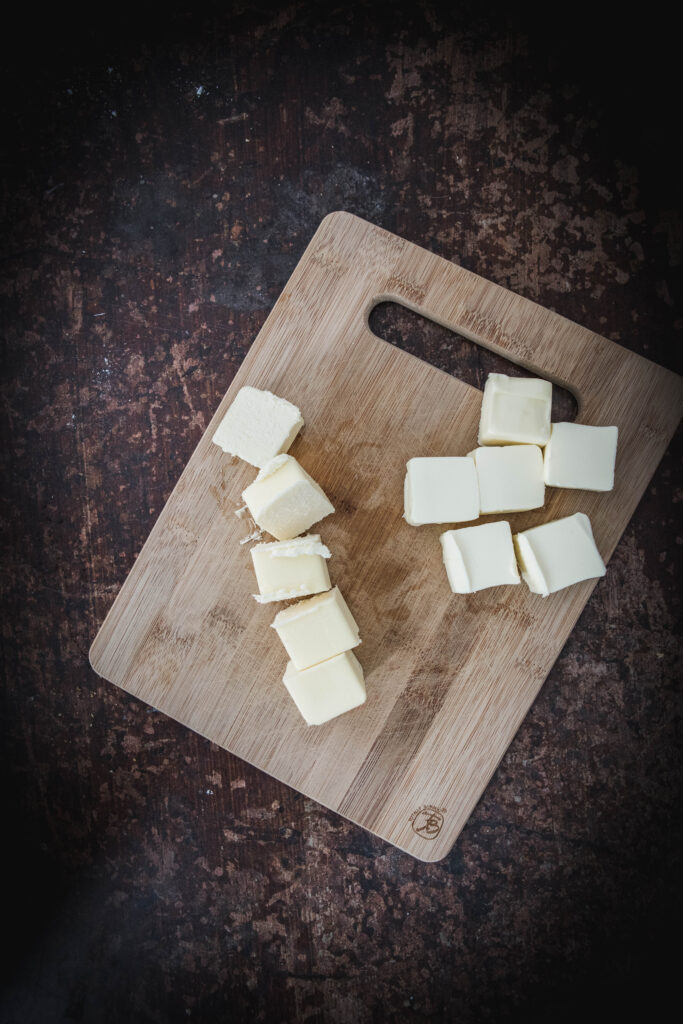
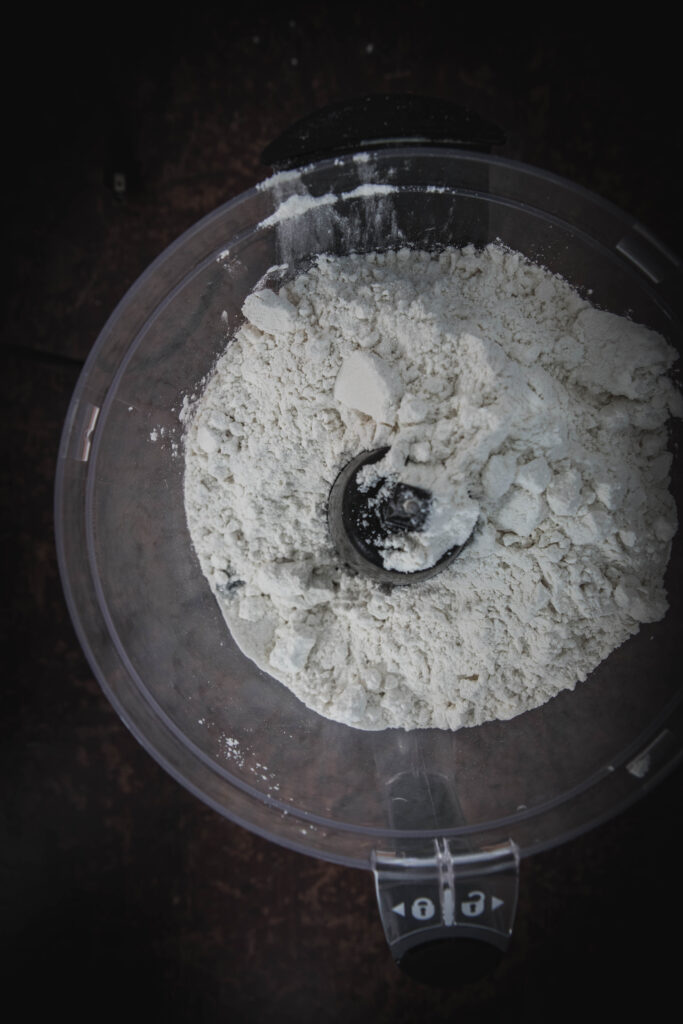

1. In a food processor, place the butter and gluten free flour blend. Make sure the butter is not room temperature. Pulse until the butter is the size of peas. While running the food processor, add one tablespoon of ice cold water (or milk) at a time. The dough is ready when it begins to form a ball. Once the pie dough has come together in the food processor, place the dough between the parchment paper. The parchment paper will help you roll it out smoother.
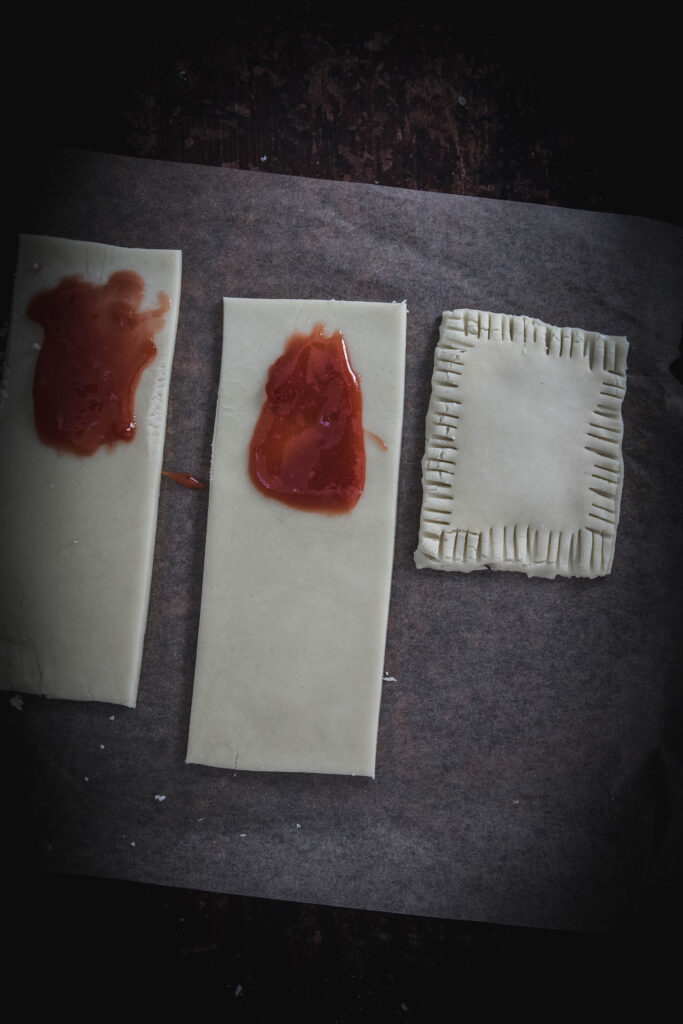
- Roll it out and slice it so that you have a rectangle. Once you have a rectangle, cut into three strips. Do the same with the leftover scraps. You will get 6 gluten free pop tarts total from the pie dough. Traditionally, pop tarts (and therefore gluten free pop tarts) are 3 inches by 5 inches. They are less than an inch thick.
2. In a bowl, mix together the strawberry jam and corn starch. The mixture will look a bit gooey at first but it will smooth out as you mix it together. On the lower half of each of the strips, place a teaspoon of the strawberry jam mixture.
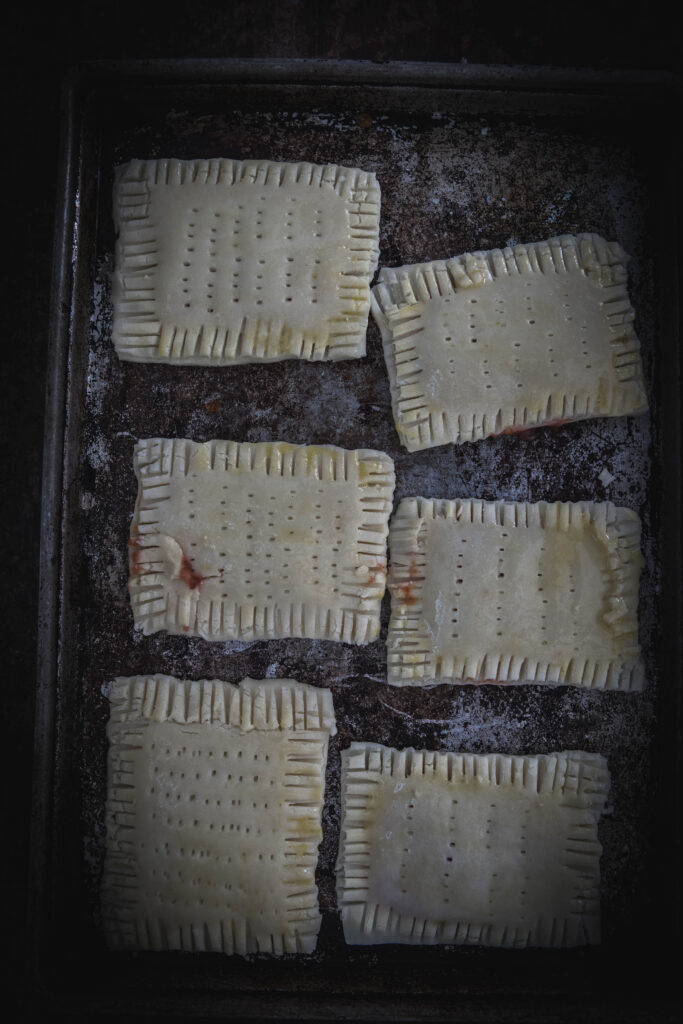
4. Fold over the top part of each strip. If it breaks at the top seam, that is fine, you will be pinching the dough together. Pinch the edges together on all four sides and then use a fork to press the dough together to make sure it really sticks. Next, use your fork to pierce holes into the top of the gluten free pop tarts. Place the pop tarts on a baking sheet.
5. Preheat oven to 350°F and place the pop tarts on the baking sheet into the fridge while the oven comes to the correct temperature.When ready to place in the oven, take the egg and whisk together in a bowl. Brush the egg wash on top of the pop tarts. The cook time is 20 minutes.
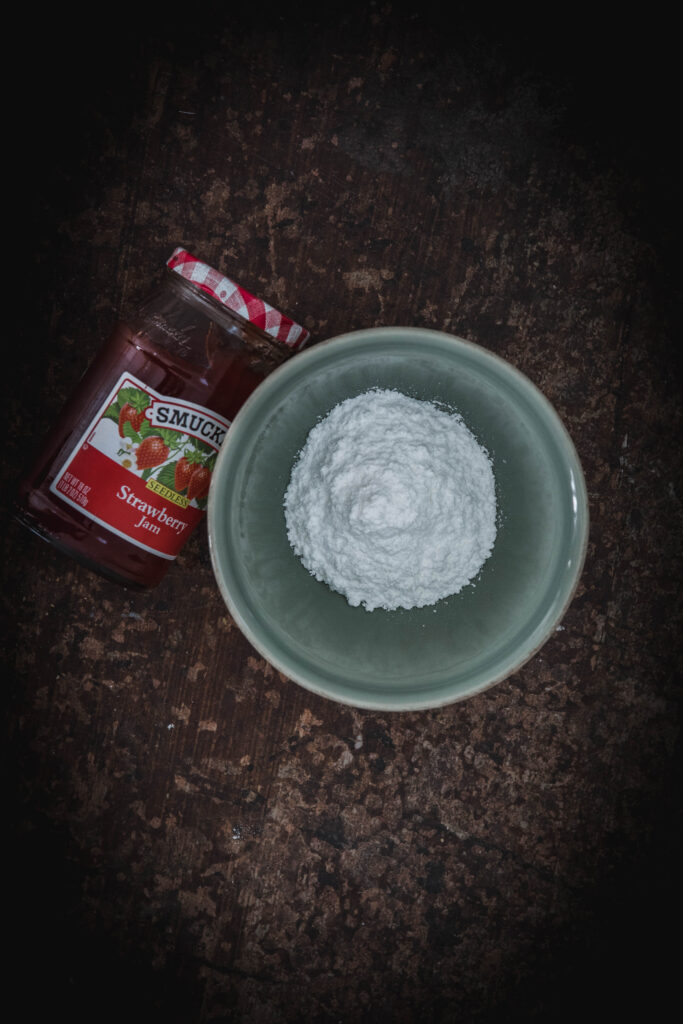
6. Remove the baking sheet from the oven and allow them to cool on a cooling rack. They will be a nice golden brown color. Meanwhile set aside the gluten free pop tarts and in a small bowl, mix together the icing sugar, jam, and milk. Once it is a nice thick consistency, dip the pop tarts into it. Cover with sprinkles and serve!
Notes: They will keep for a few days in the fridge.
The prep time for this recipe is not long but you will often have to set aside elements of the recipe as you work. The time adds up when you have to place the gluten free pastry dough in the fridge etc.
Looking for other gluten free recipes?
Pumpkin Pies
Mincemeat Pies
Orange Tart
Pear and Frangipane Tart
Rhubarb Tart
Tomato Tart

Gluten Free Pop Tarts
- Total Time: 1 hour
- Yield: 6 Gluten Free Pop Tarts
Description
This recipe for gluten free pop tarts is quick, easy, and super delicious. Just as good as the original, no one will know the difference!
Ingredients
One Pie crust recipe:
- - 1 ½ cups Gluten Free Flour Blend (I like Cup4Cup- make sure whatever mix you use has xanthan gum in it)
- - 8 tablespoons Unsalted Butter (cold- not room temperature)
- - 5 tablespoons ice water (or milk)
- 1 egg
Filling & Glaze:
- ½ cup Strawberry Jam
- 1 Egg (for the egg wash)
- 1 tablespoon Cornstarch
- 1 cup Powdered Sugar
- 1 teaspoon Milk (add more if you need it- for glaze)
- 1 tablespoon Strawberry Jam (for glaze)
Instructions
- 1. In a food processor, place the butter and gluten free flour blend. Make sure the butter is not room temperature. Pulse until the butter is the size of peas. While running the food processor, add one tablespoon of ice cold water (or milk) at a time. The dough is ready when it begins to form a ball. Once the pie dough has come together in the food processor, place the dough between the parchment paper. The parchment paper will help you roll it out smoother.
- Roll it out and slice it so that you have a rectangle. Once you have a rectangle, cut into three strips. Do the same with the leftover scraps. You will get 6 gluten free pop tarts total from the pie dough. Traditionally, pop tarts (and therefore gluten free pop tarts) are 3 inches by 5 inches. They are less than an inch thick.
- 2. In a bowl, mix together the strawberry jam and corn starch. The mixture will look a bit gooey at first but it will smooth out as you mix it together. On the lower half of each of the strips, place a teaspoon of the strawberry jam mixture.
- 4. Fold over the top part of each strip. If it breaks at the top seam, that is fine, you will be pinching the dough together. Pinch the edges together on all four sides and then use a fork to press the dough together to make sure it really sticks. Next, use your fork to pierce holes into the top of the gluten free pop tarts. Place the pop tarts on a baking sheet.
- 5. Preheat oven to 350°F and place the pop tarts on the baking sheet into the fridge while the oven comes to the correct temperature.When ready to place in the oven, take the egg and whisk together in a bowl. Brush the egg wash on top of the pop tarts. The cook time is 20 minutes.
- 6. Remove the baking sheet from the oven and allow them to cool on a cooling rack. They will be a nice golden brown color. Meanwhile set aside the gluten free pop tarts and in a small bowl, mix together the icing sugar, jam, and milk. Once it is a nice thick consistency, dip the pop tarts into it. Cover with sprinkles and serve!
Notes
Notes: They will keep for a few days in the fridge.
The prep time for this recipe is not long but you will often have to set aside elements of the recipe as you work. The time adds up when you have to place the gluten free pastry dough in the fridge etc.
- Prep Time: 10 minutes
- Cook Time: 20 minutes
- Category: Breakfast
- Cuisine: American
Nutrition
- Calories: 182
- Sugar: 35
- Sodium: 21
- Fat: 1
- Saturated Fat: 1
- Carbohydrates: 43
- Fiber: 1
- Protein: 1
- Cholesterol: 27
If you make this recipe, please be sure to leave a comment and rating!
Dianna Wilson Sirkovsky says
I was never a pop tart fan until these!