
Mexican hot chocolate cookies, the cookie that other than the heath bar cookie, Josh asks for or declares his love for on the most regular basis. What I love about these cookies are that they are really easy to make! They are basic in their ingredients but packed SO full of flavor. So, let's get started.
What do you need for Mexican hot chocolate cookies?
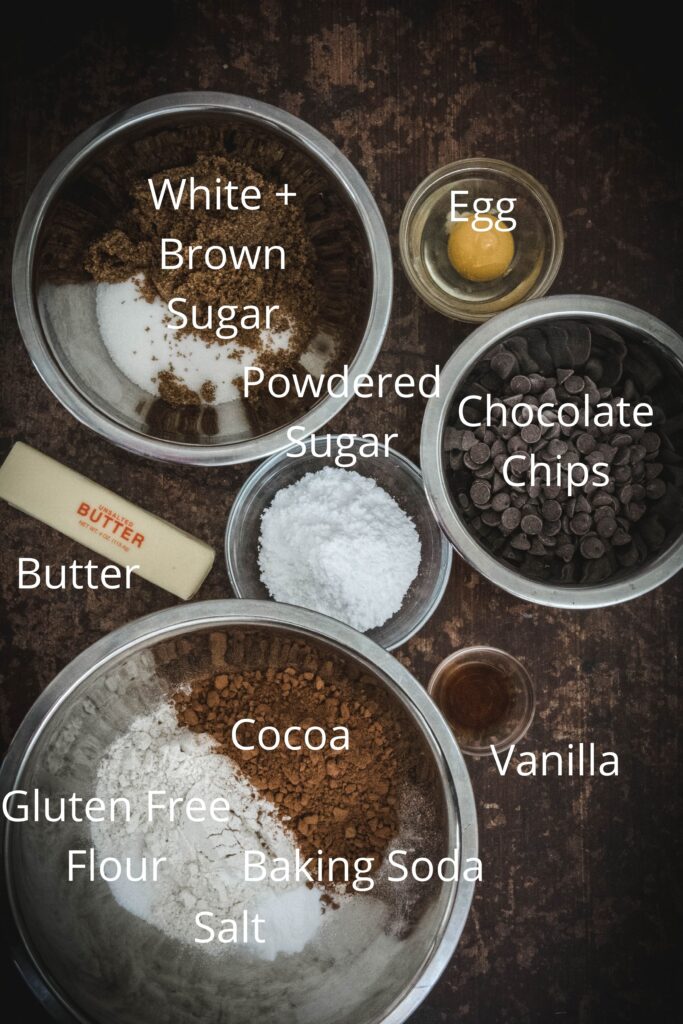
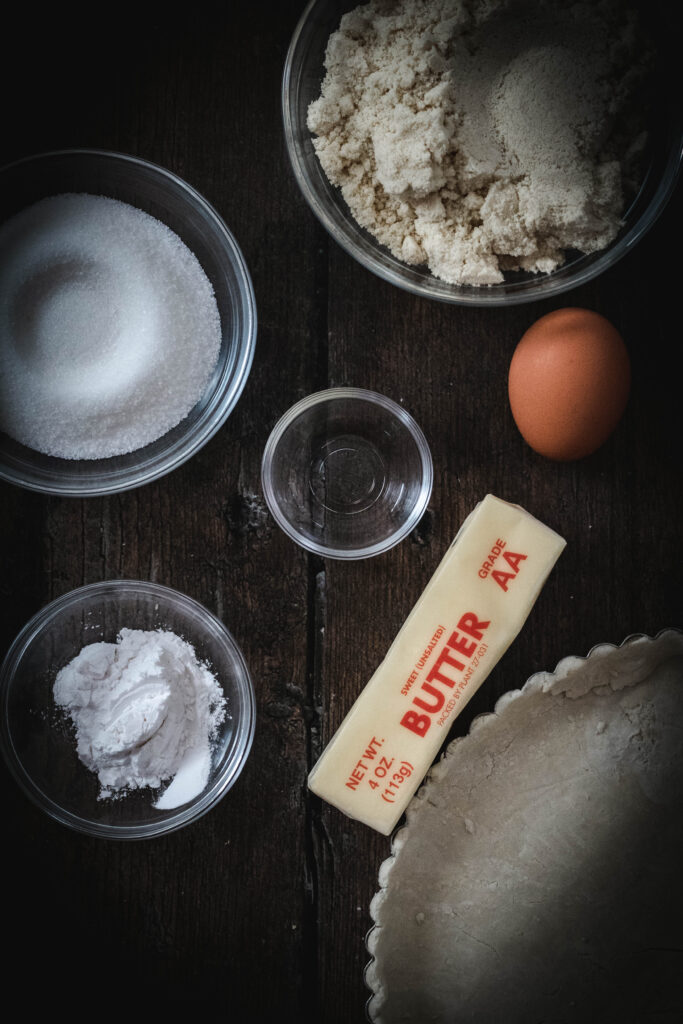
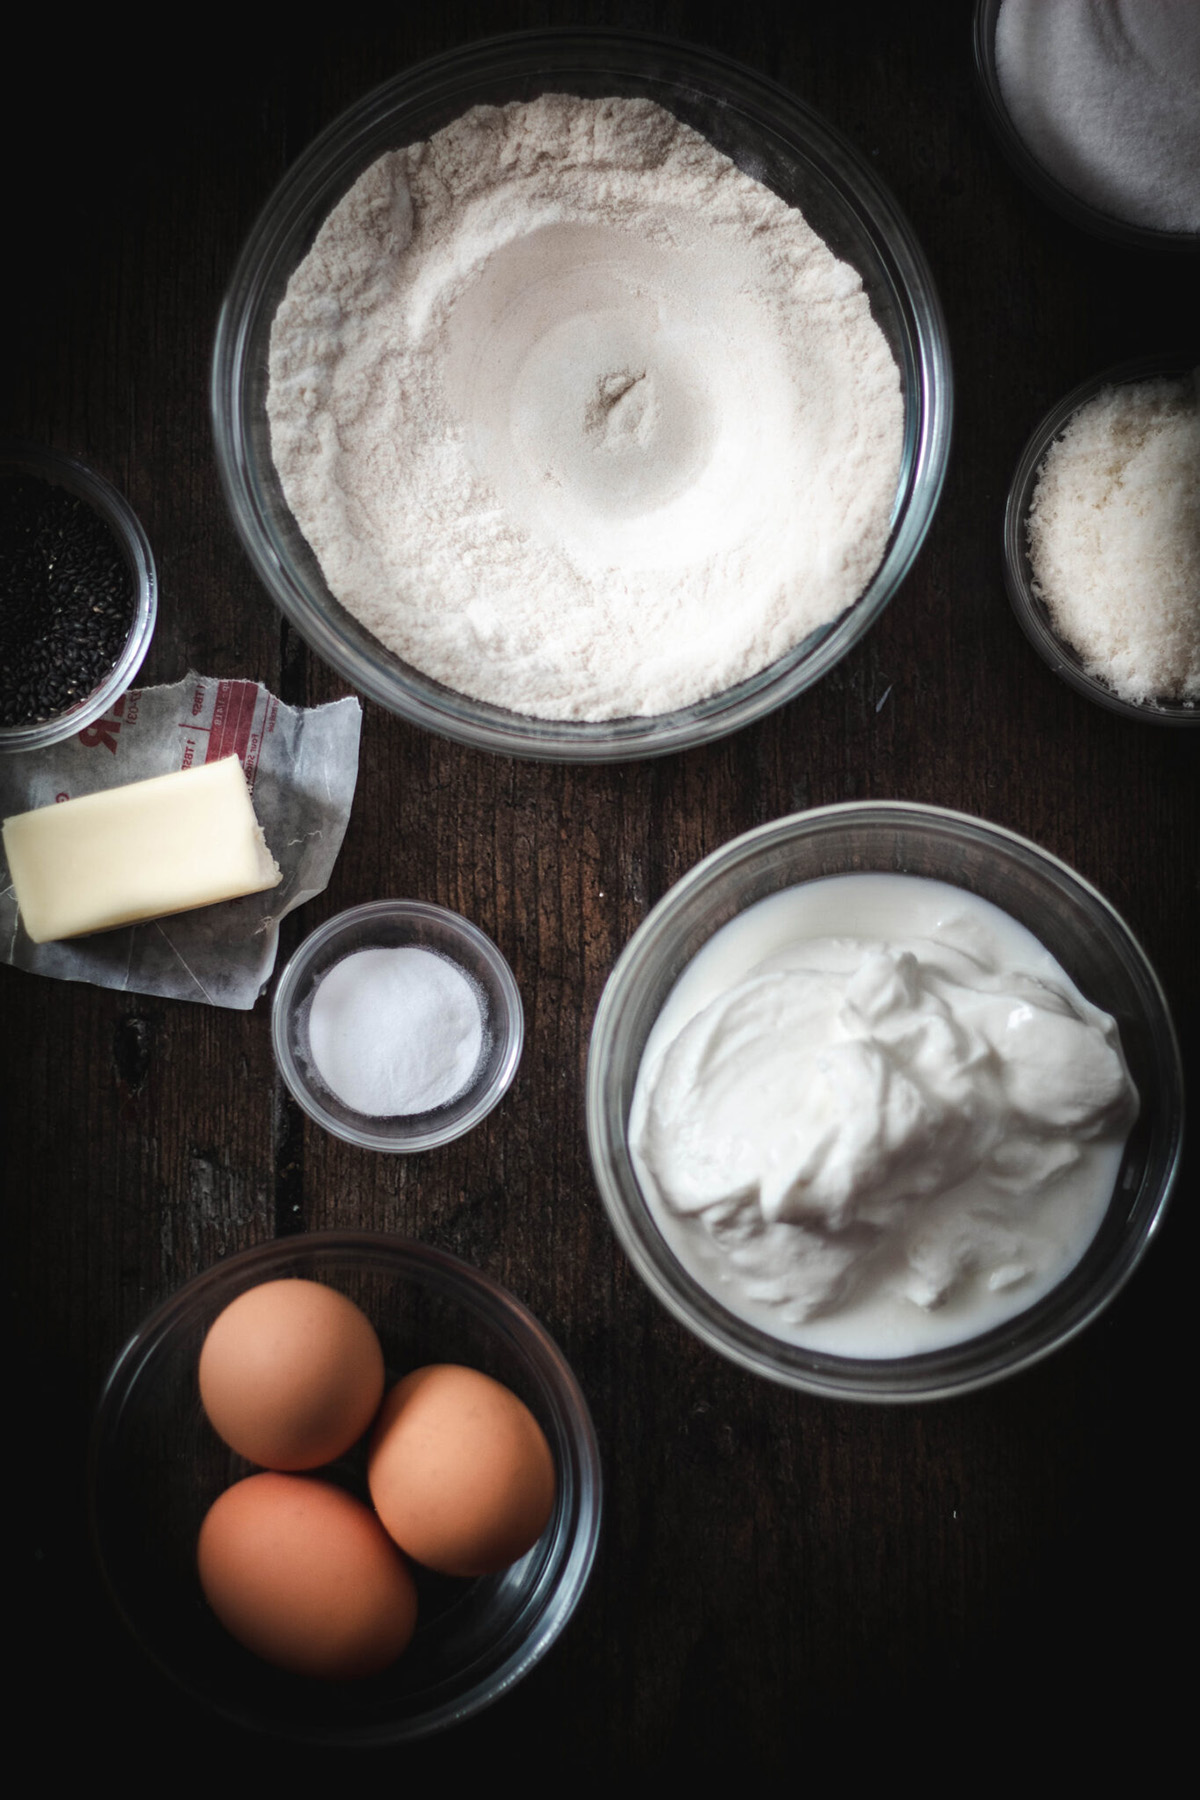
For the cookies you will need:
- 1⁄2 cup gluten free flour
- 3⁄4 cup cocoa powder
- ¾ teaspoon ground cinnamon
- ¾ teaspoon cayenne (if you like them hot. Use ½ teaspoon if you don't want them too hot)
- ¼ teaspoon freshly ground black pepper
- ¼ teaspoon salt
- ¾ cup sugar
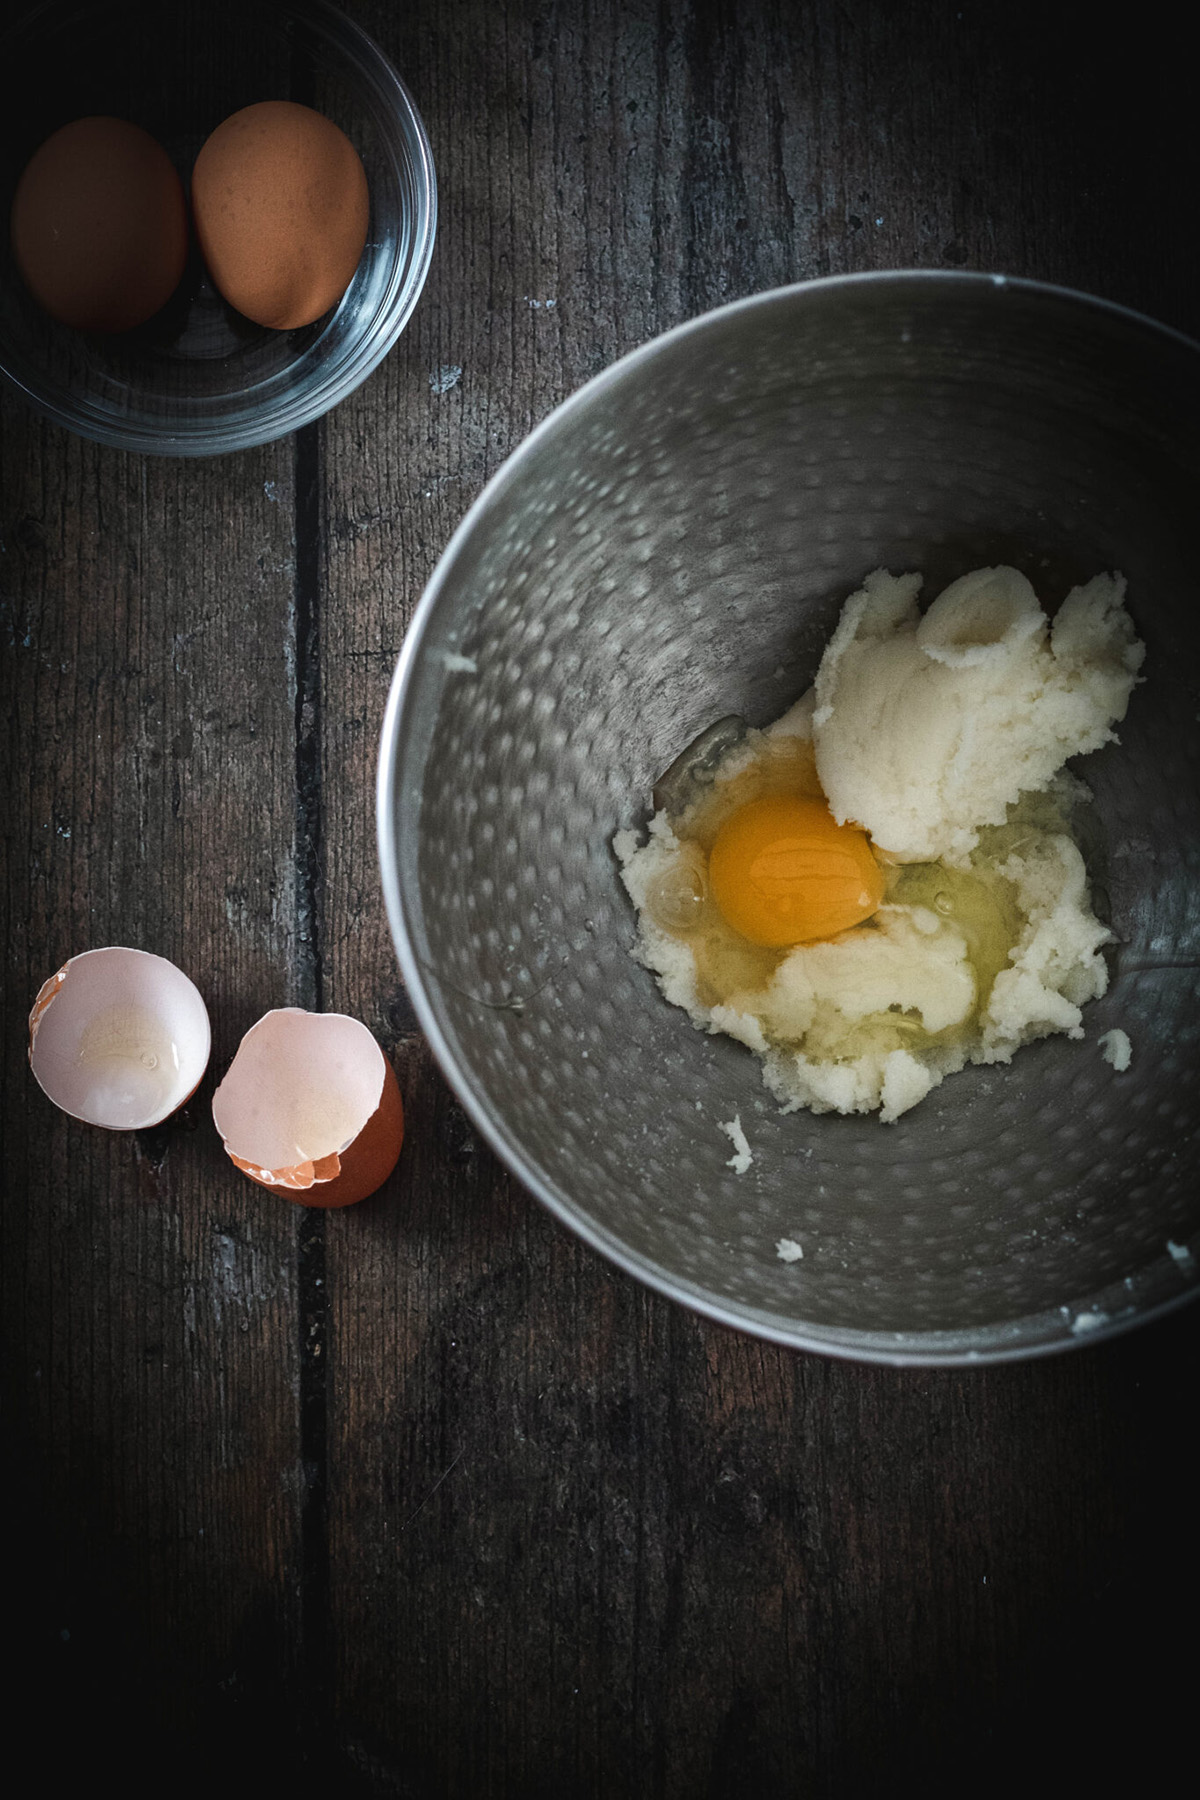
- 1 egg
- 12 tablespoon butter (1 and a half sticks of butter- you want unsalted and i should be cold)
- ½ teaspoon vanilla extract
For the Drizzle:
- 1 cup of white chocolate
- ½ teaspoon vanilla
- 1 teaspoon crisco


How do you make Mexican hot chocolate cookies?
To make the cookies:
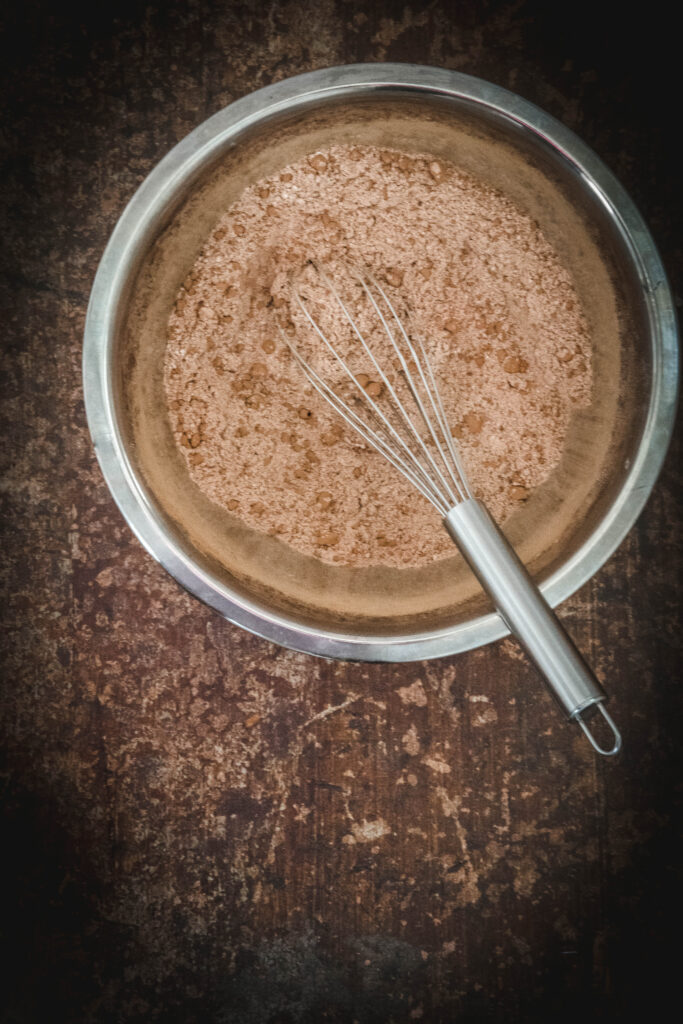
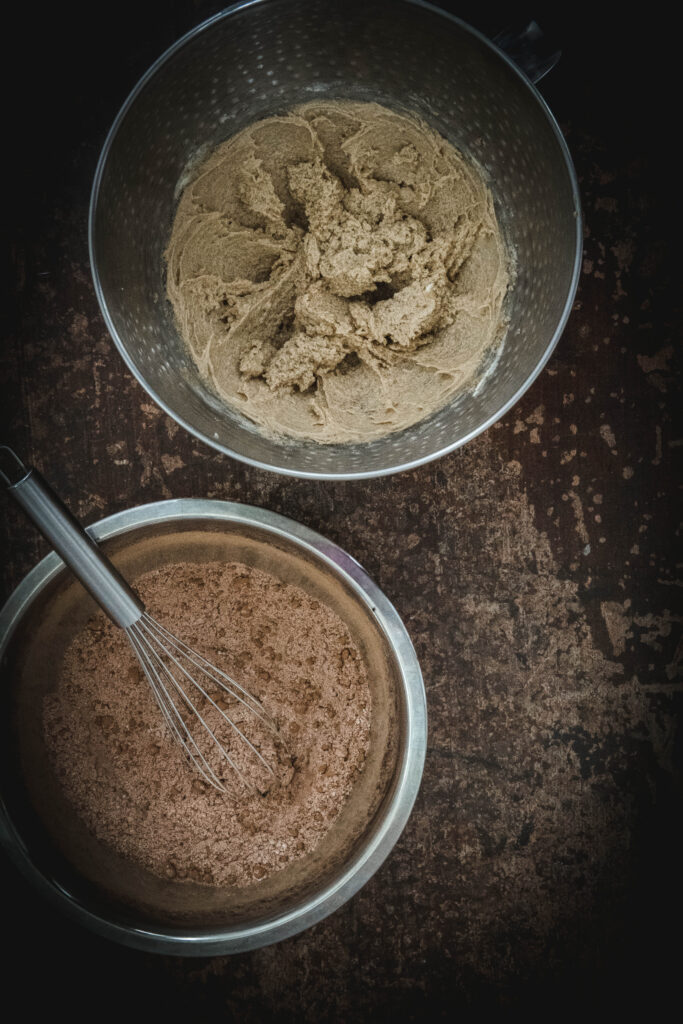
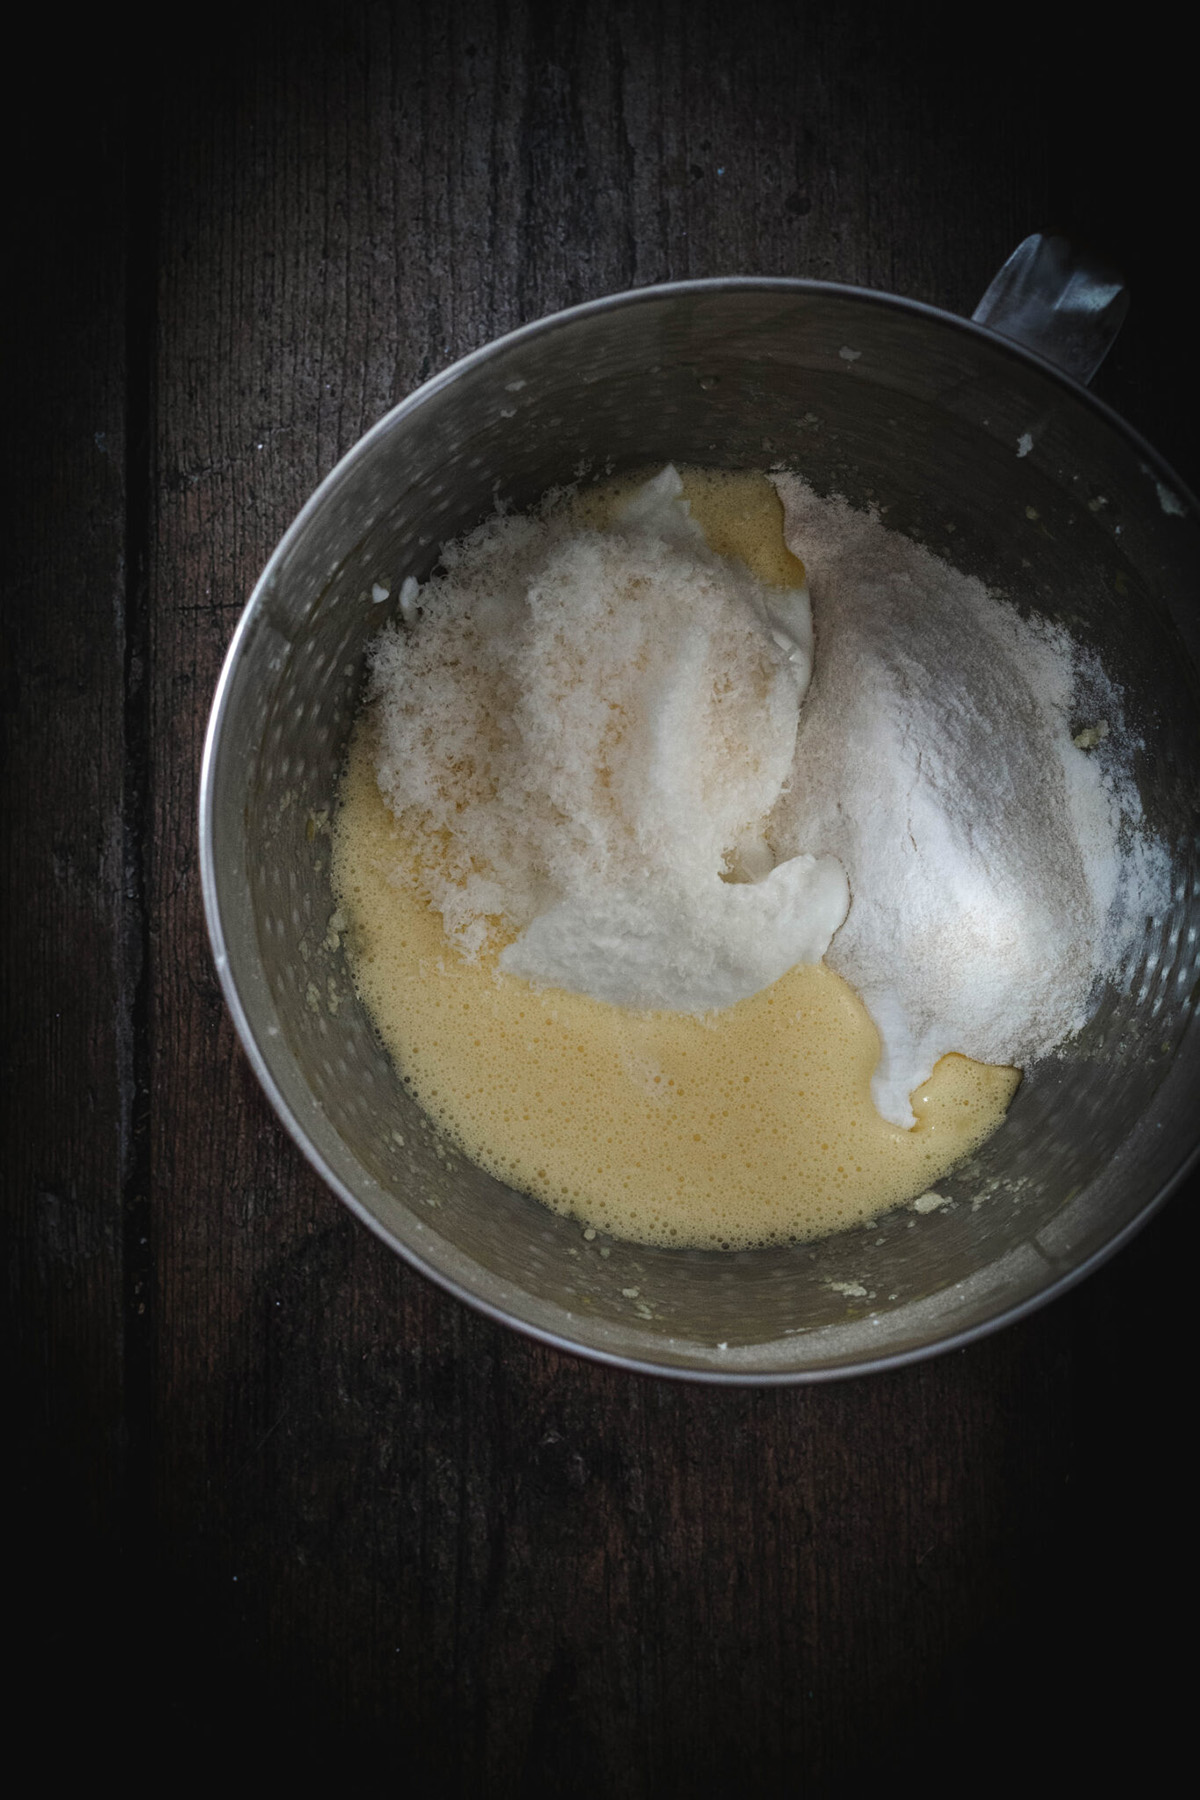
- Whisk the flour, cocoa, cinnamon, cayenne, salt, and pepper together in a medium bowl and set aside.
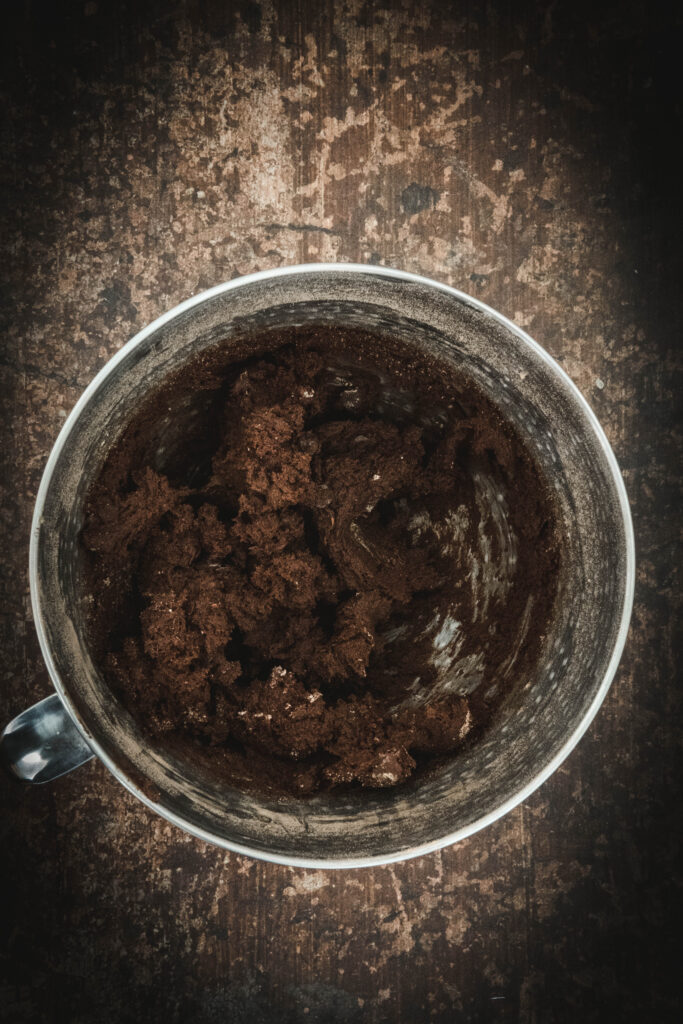
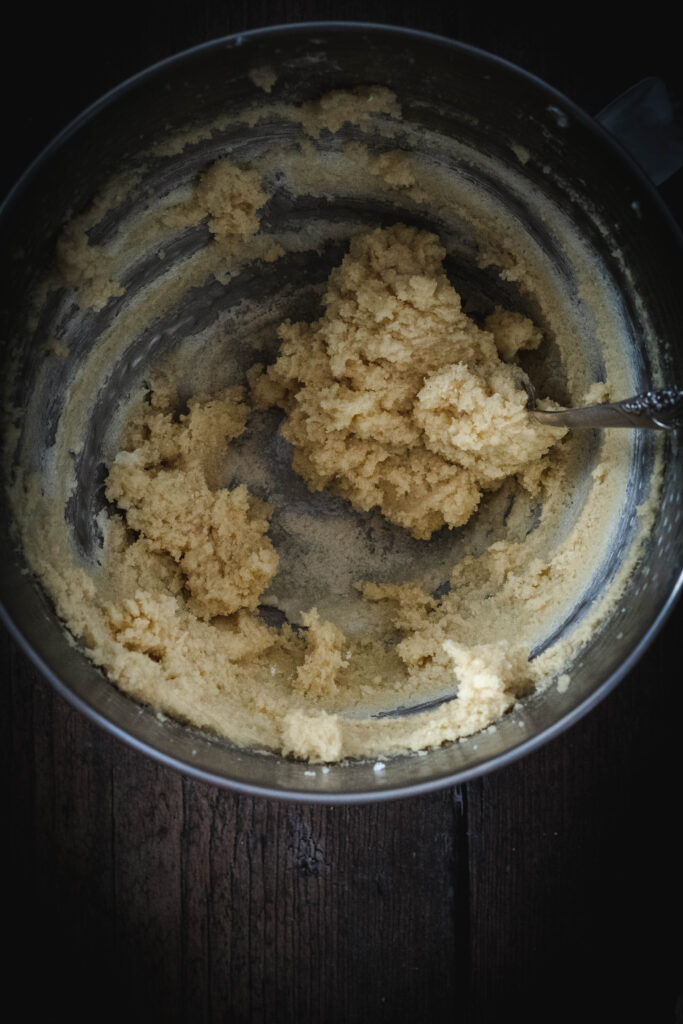
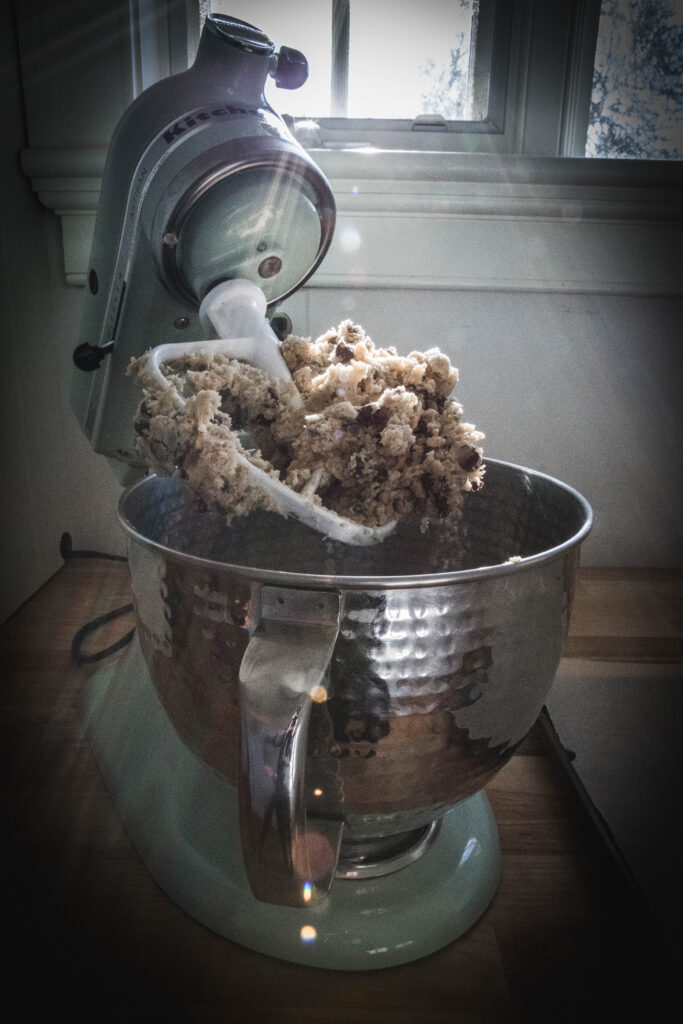
- Put sugar, vanilla, and egg into a large bowl and beat with an electric mixer on high speed until thick and pale, about 3 minutes. Add butter and continue to beat on high speed until smooth, about 3 minutes more. Using your fingers, work flour mixture into butter mixture until dough is just combined.
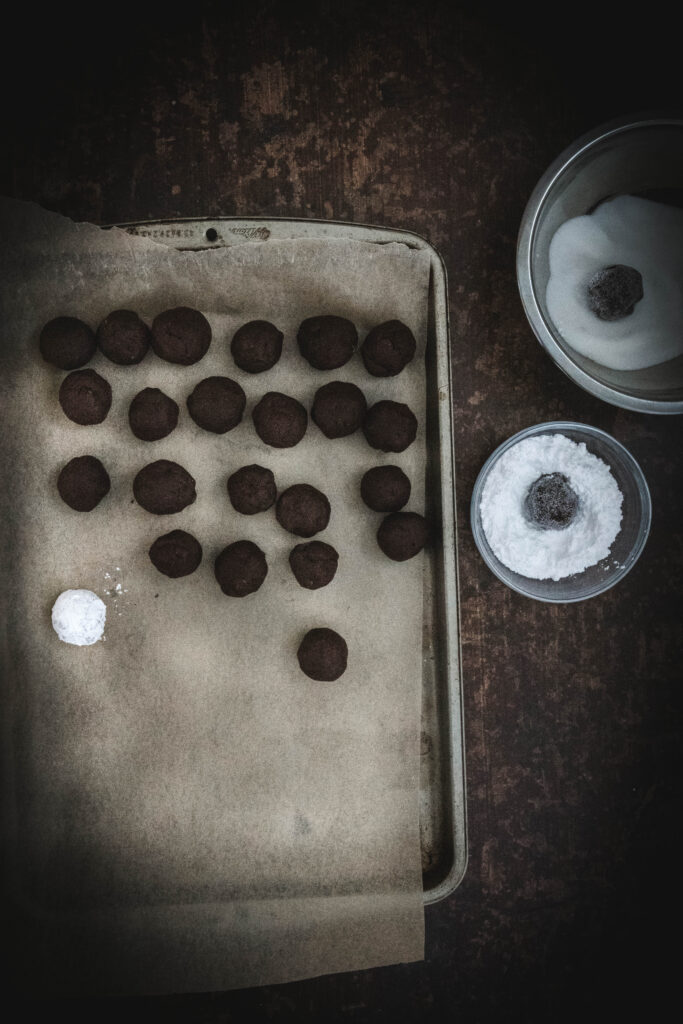
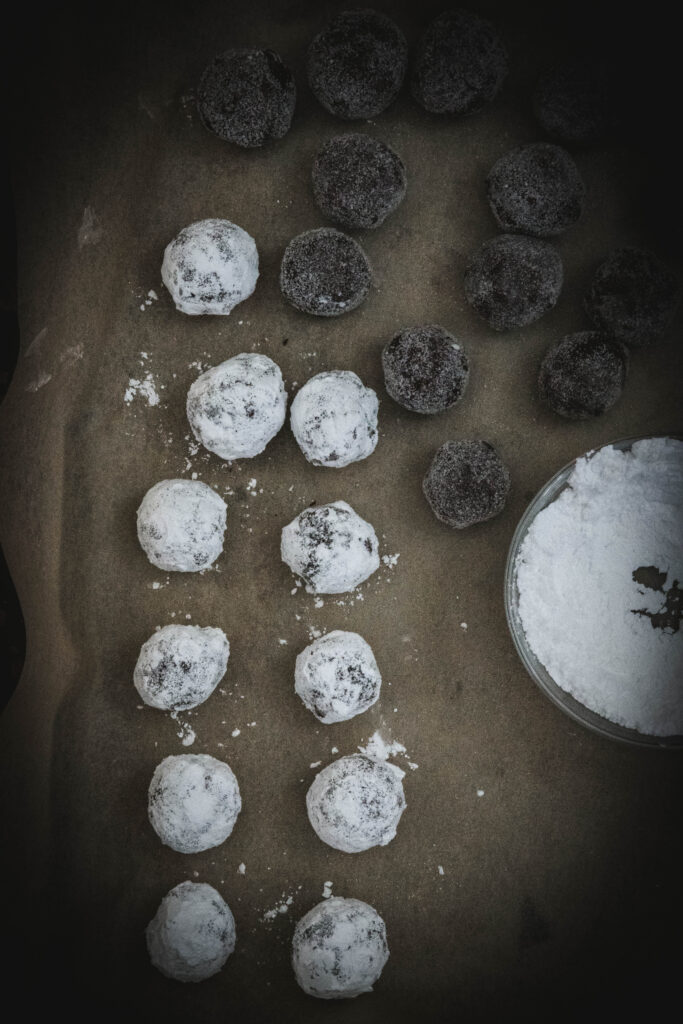
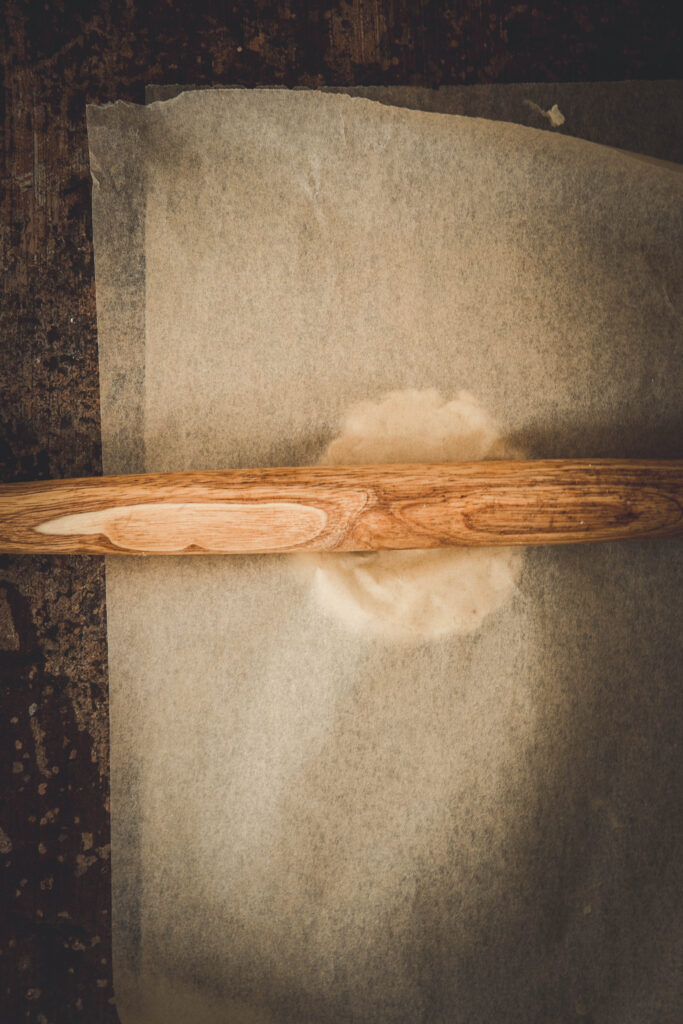
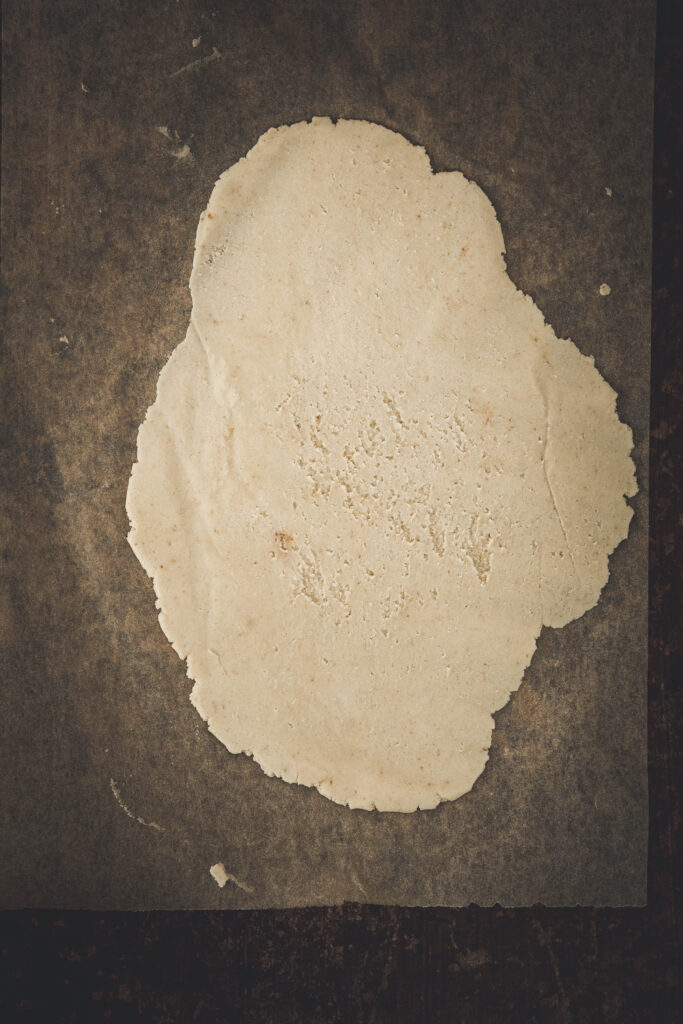
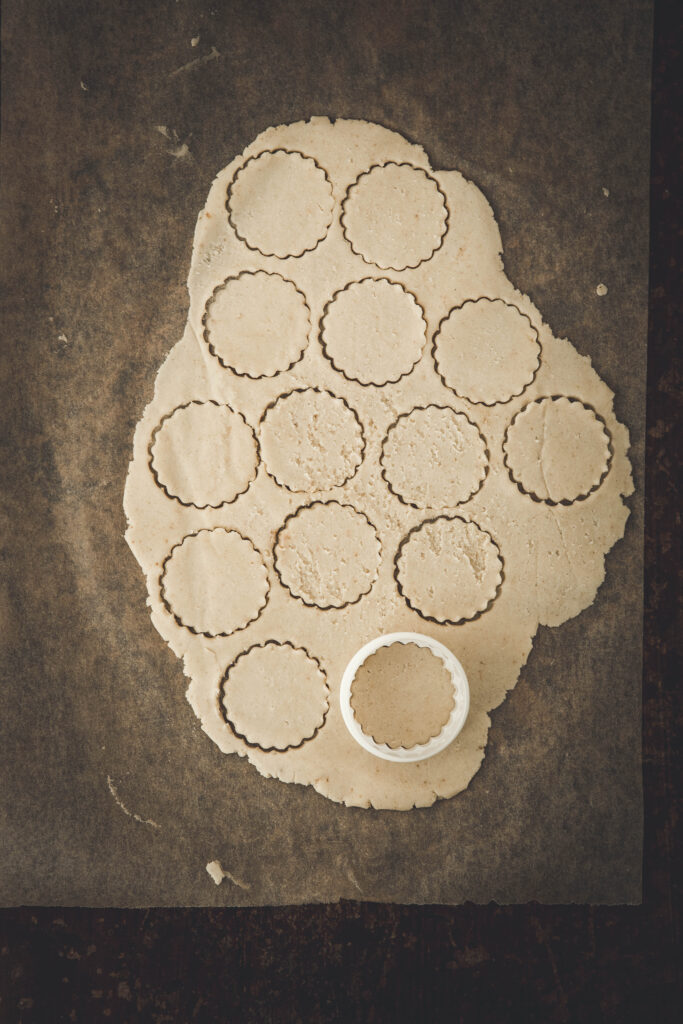
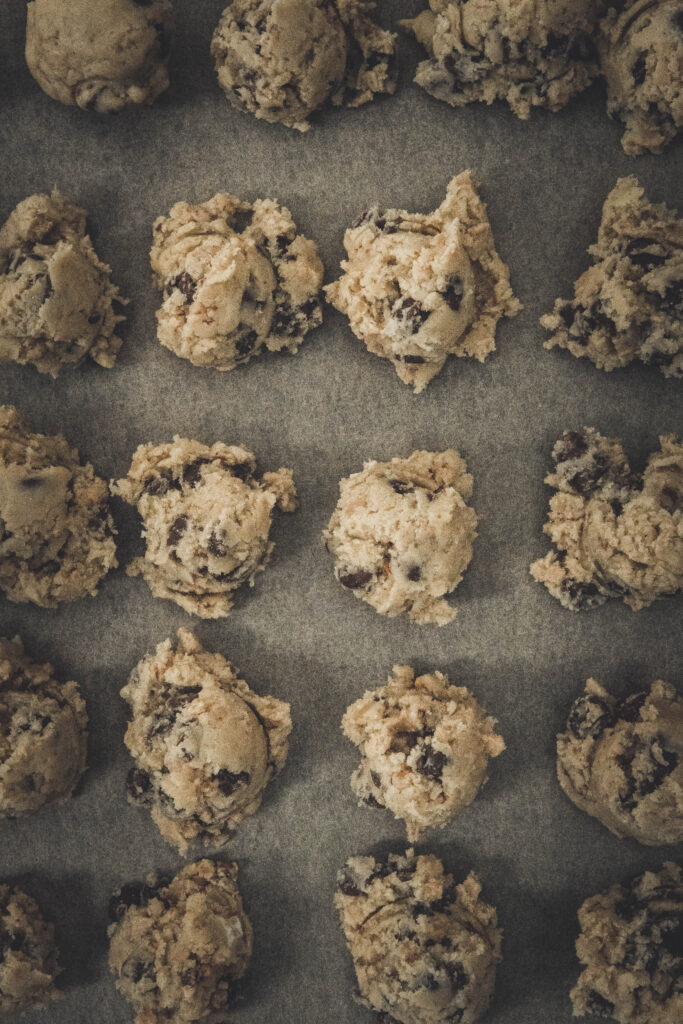
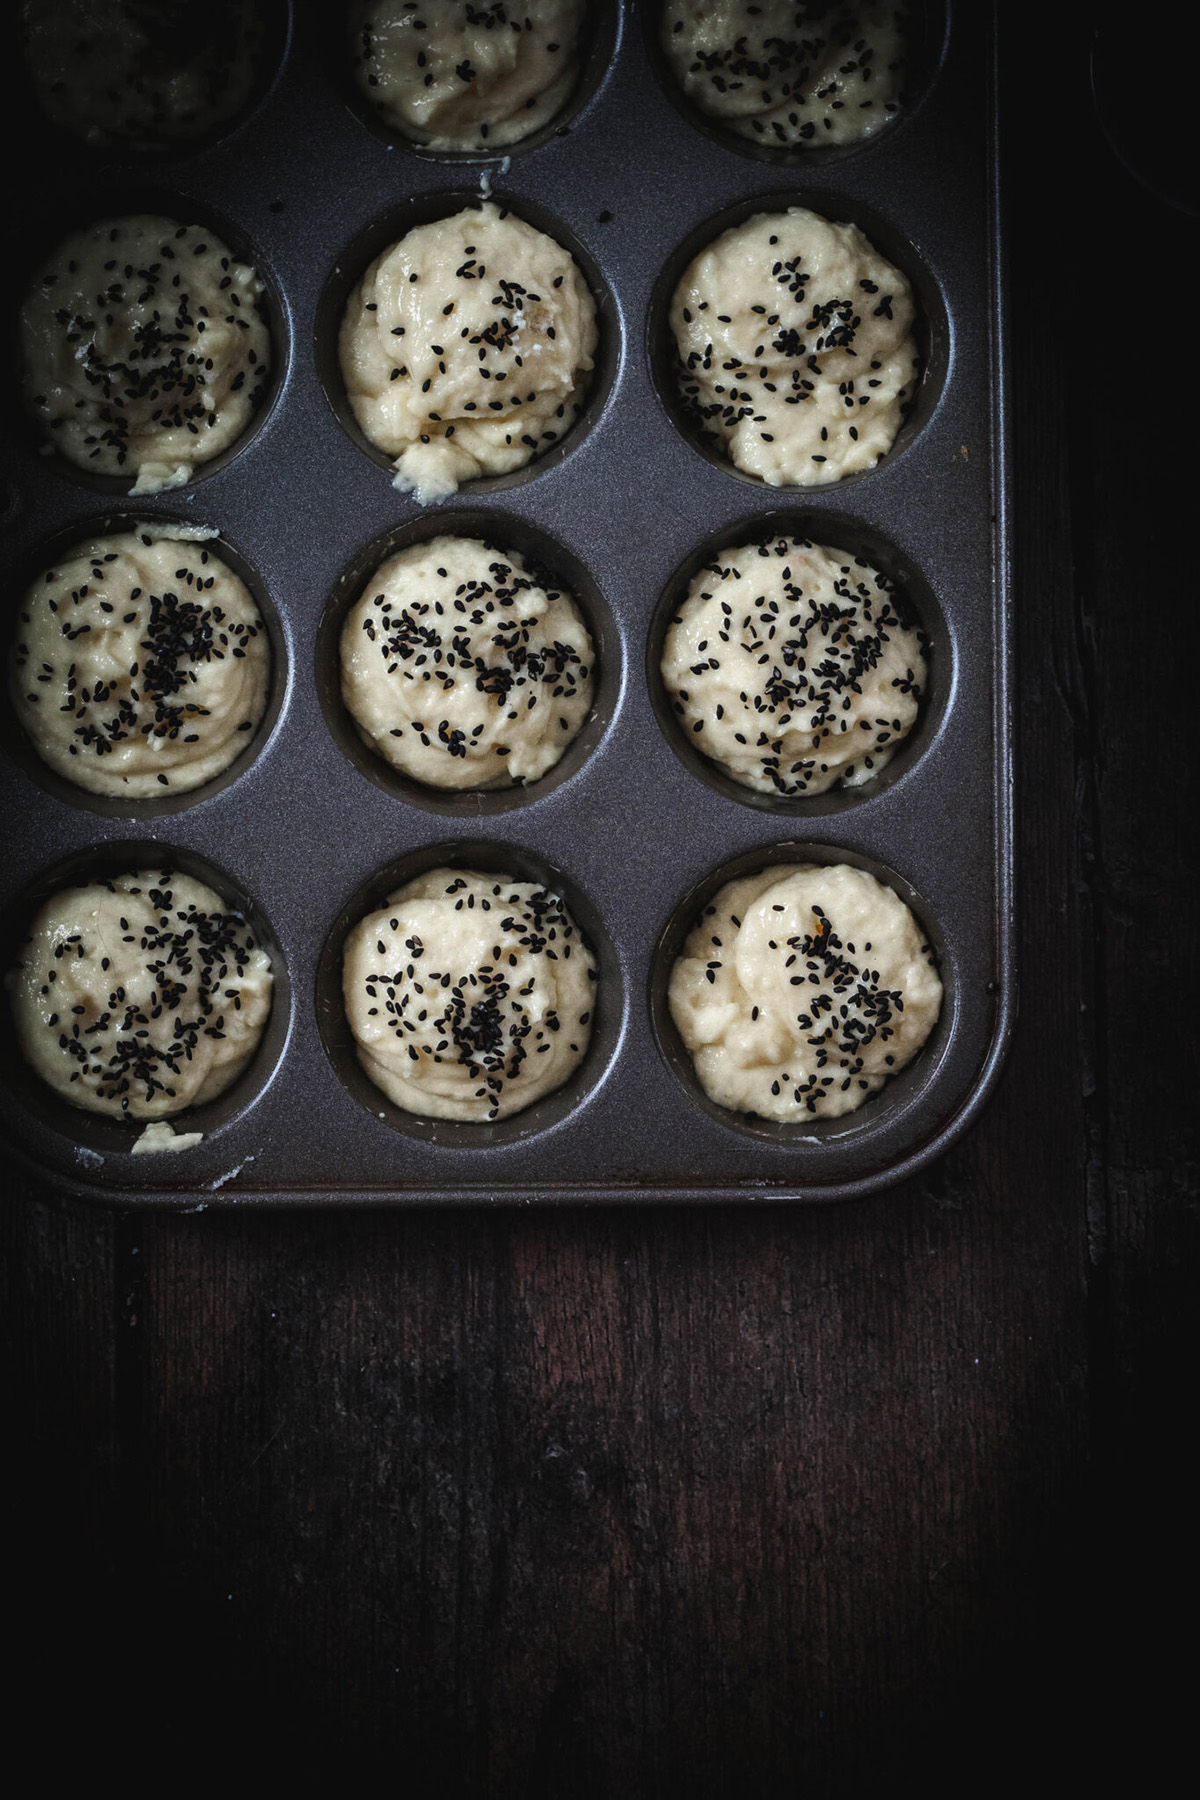
- Divide dough in half and roll each half into a 9″ log. Wrap each log in parchment paper, twisting ends tightly to make a uniform cylinder. Freeze dough logs (min. 2-8 hours). I usually leave it overnight.
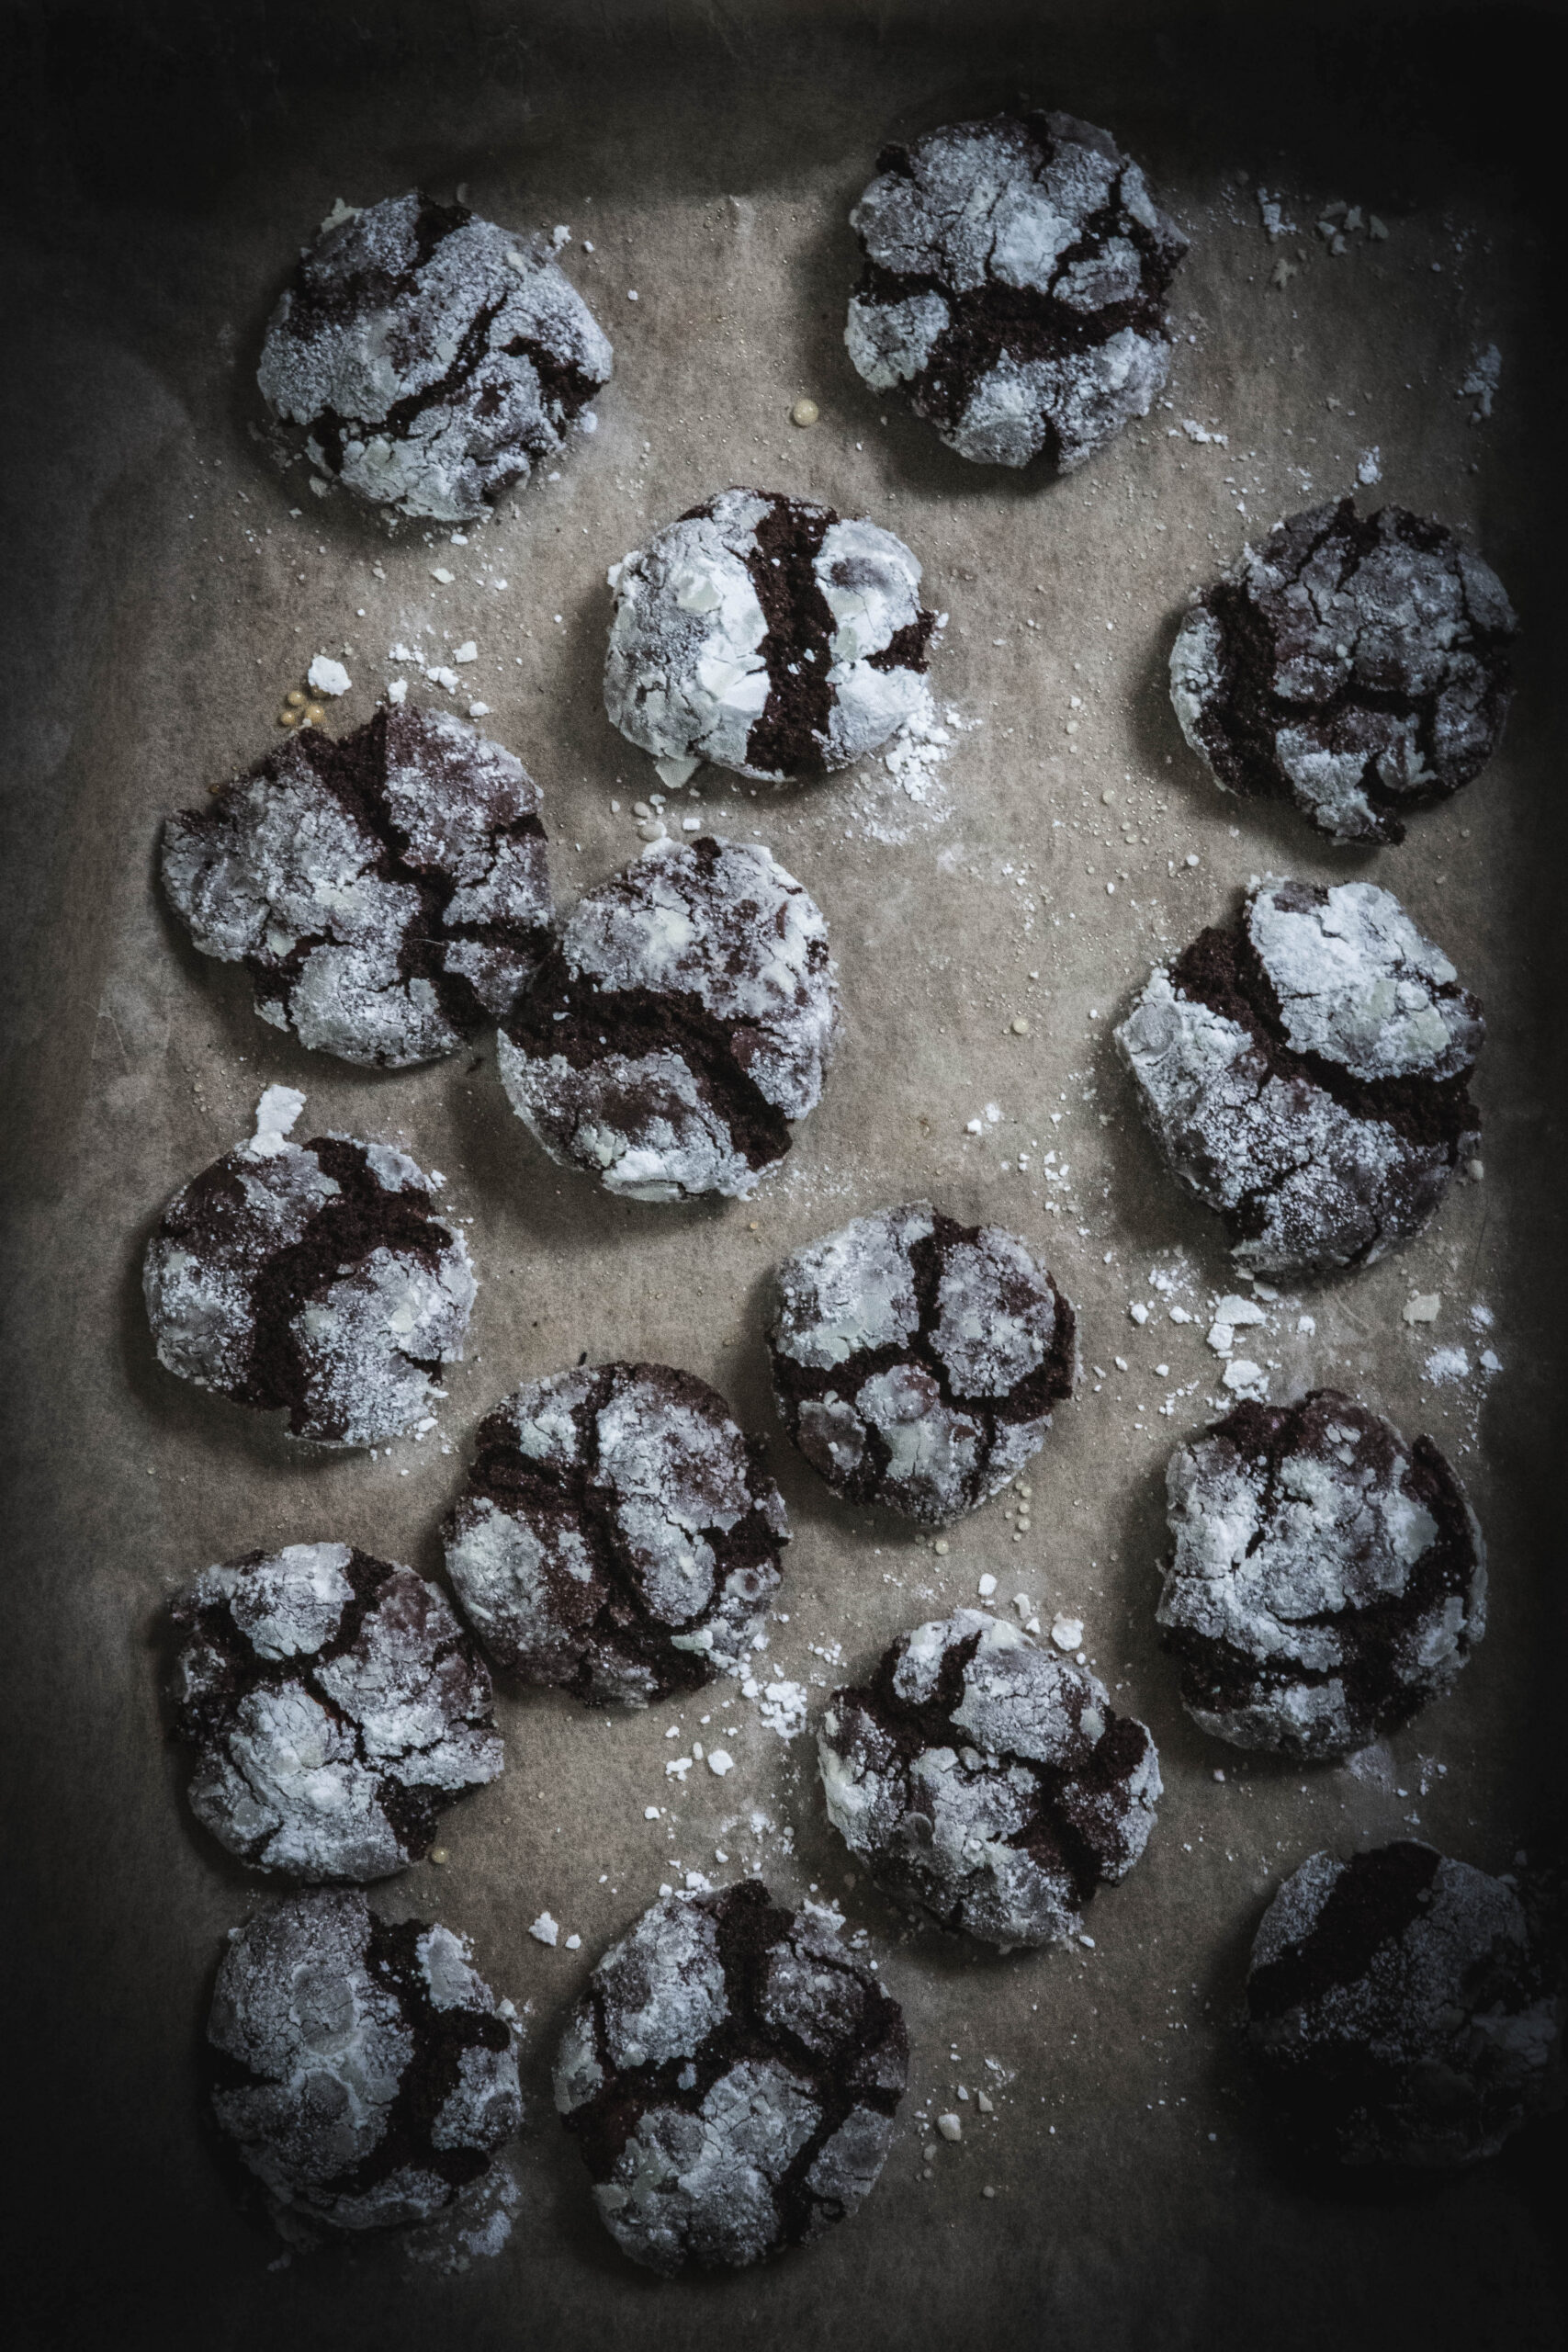
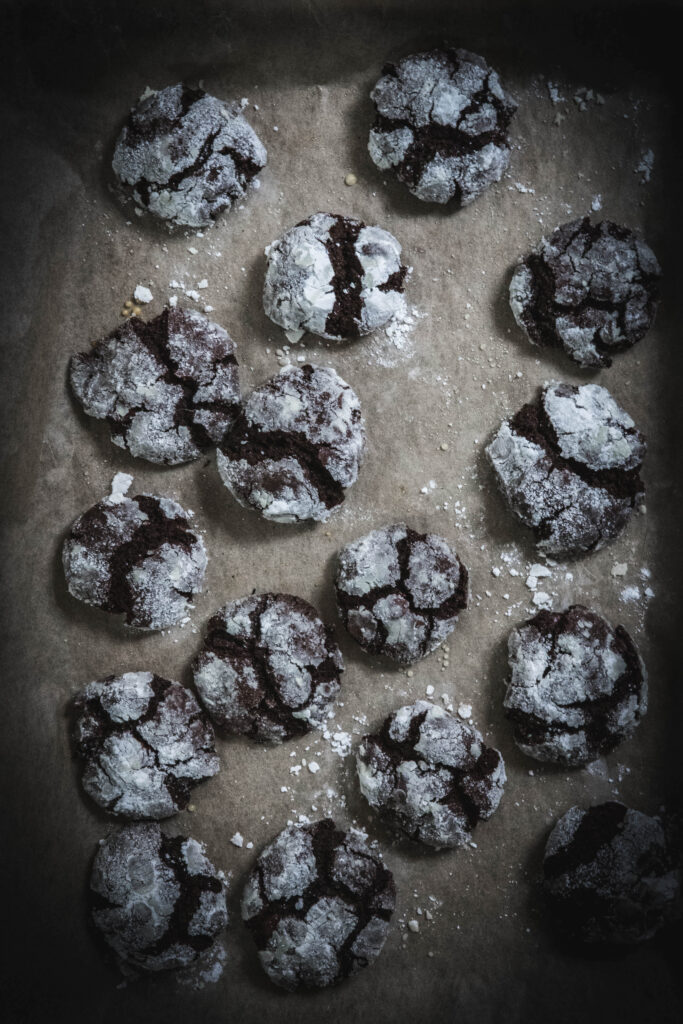
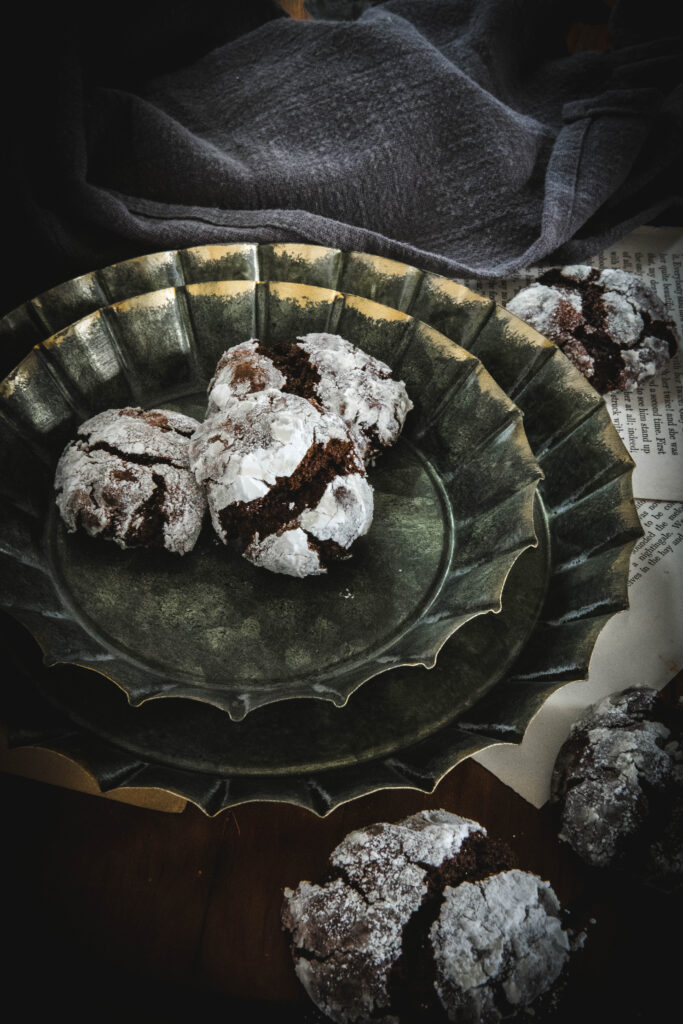
- Preheat oven to 350°. Unwrap dough and slice each log into rounds about 1⁄3″ thick. Place rounds 1⁄2″ apart on parchment paper-lined cookie sheets. Bake cookies until slightly puffed and tiny cracks appear on surface (10-12 minutes).
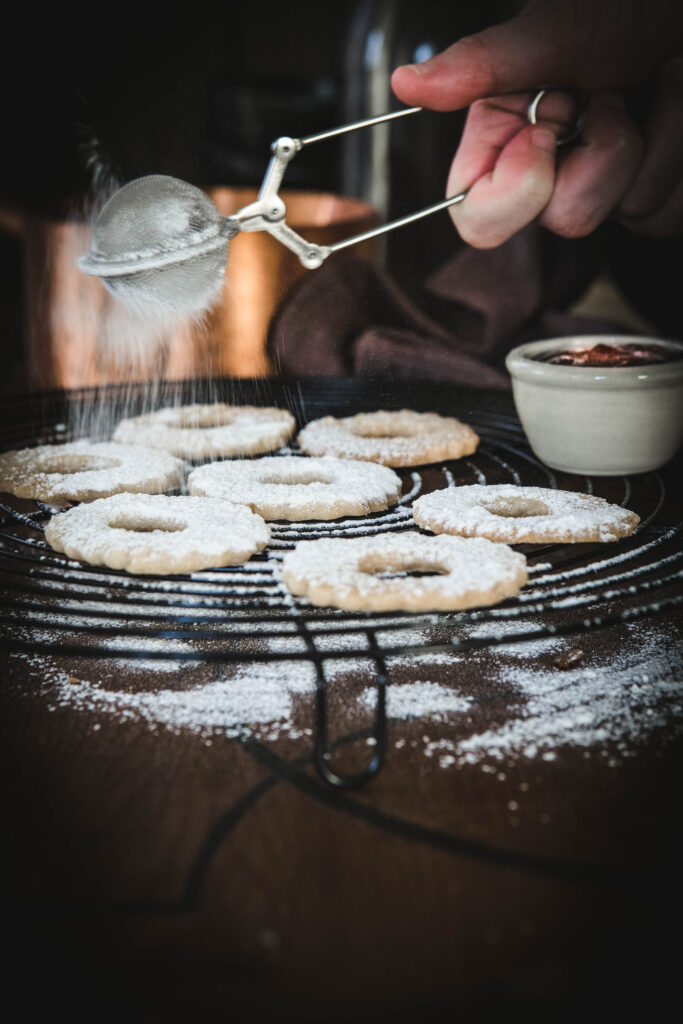
- Allow them to cook on the pan once removed from the oven for 10 minutes. Once they are cooler, transfer them to a wire rack and allow them to cool completely.
To make the drizzle:
- Combine the white chocolate, vanilla, and crisco in a bowl.
- Microwave in 30 second increments- stirring each time after.
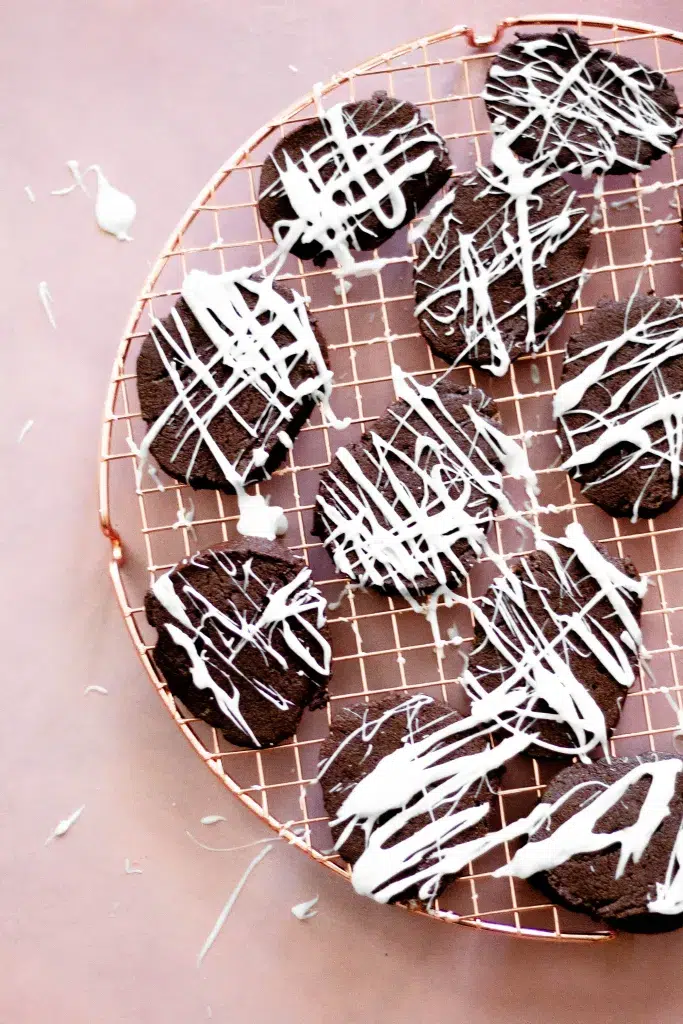
- Once you achieve a smooth consistency, use a fork to drizzle over your cookies and allow them to harden.
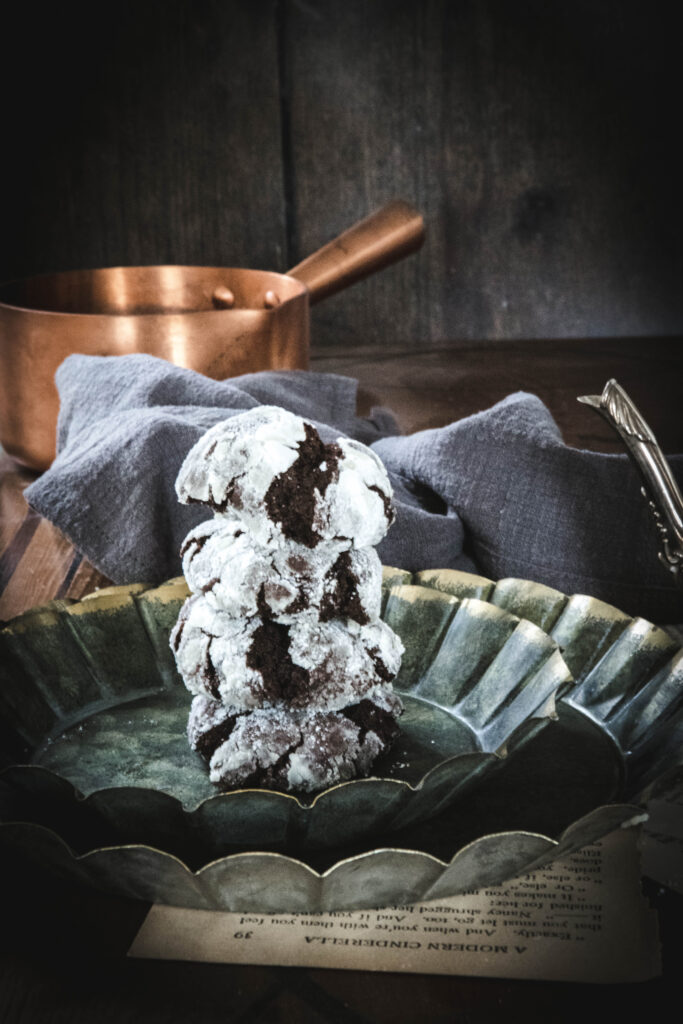
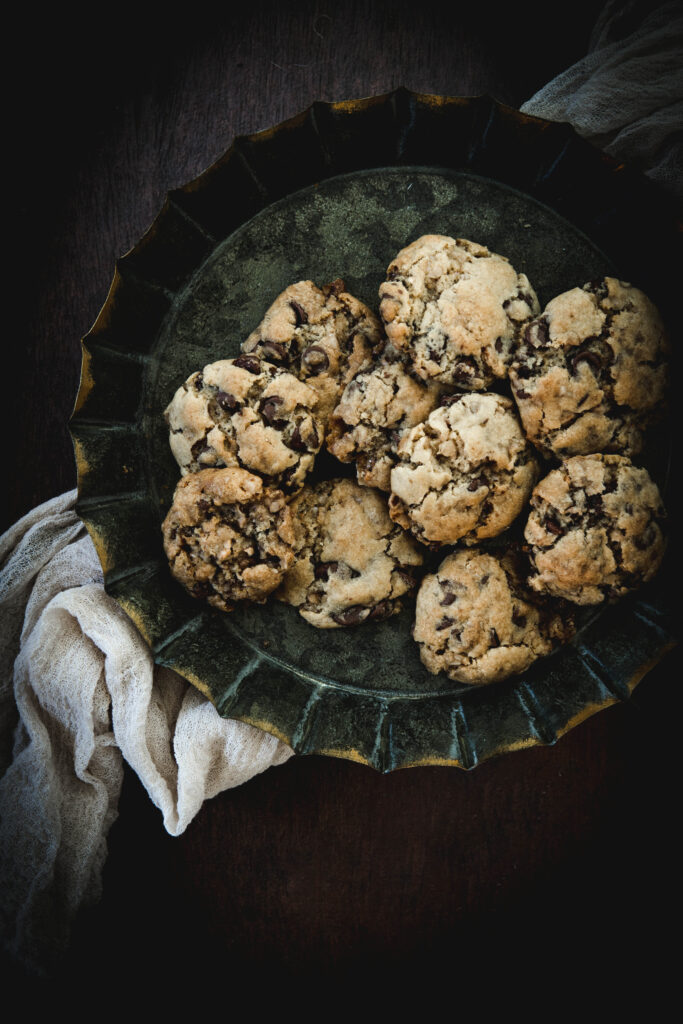
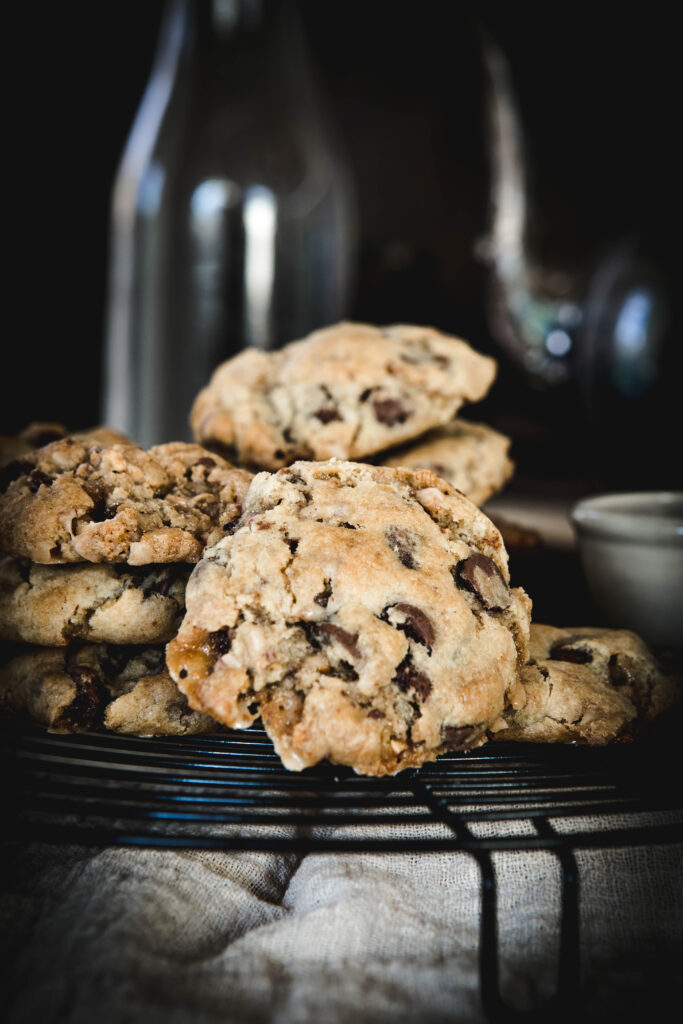
- Serve! They will stay great on the counter for about a week and can go much longer in the freezer. They are a great and hardy cookie.
Why should you make these?
For one, these cookies are SO easy. Honestly, I think they are the easiest cookie recipe I have. They are incredibly addictive and a great gift (especially around the holidays when you want something sweet but will also warm you up!). It also is super fun to drizzle stuff onto cookies.
Let me know if you make them and what you think!
- L