

This gluten free 1:1 heath bar cheesecake recipe is sweet with its toffee topping. A unique take on a delicious dessert. Make it today!
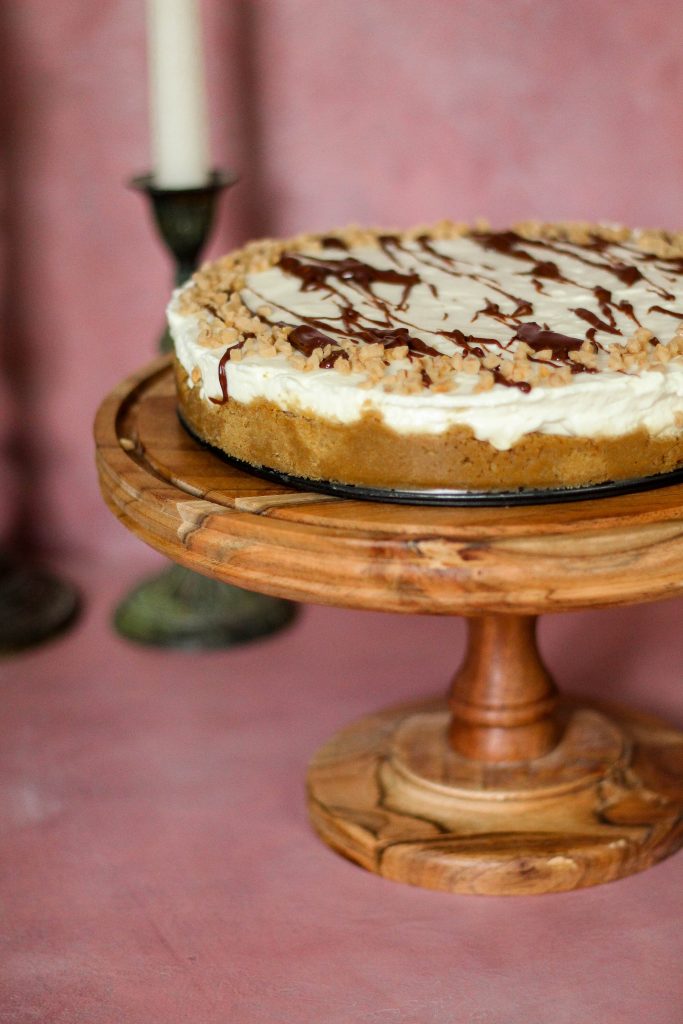
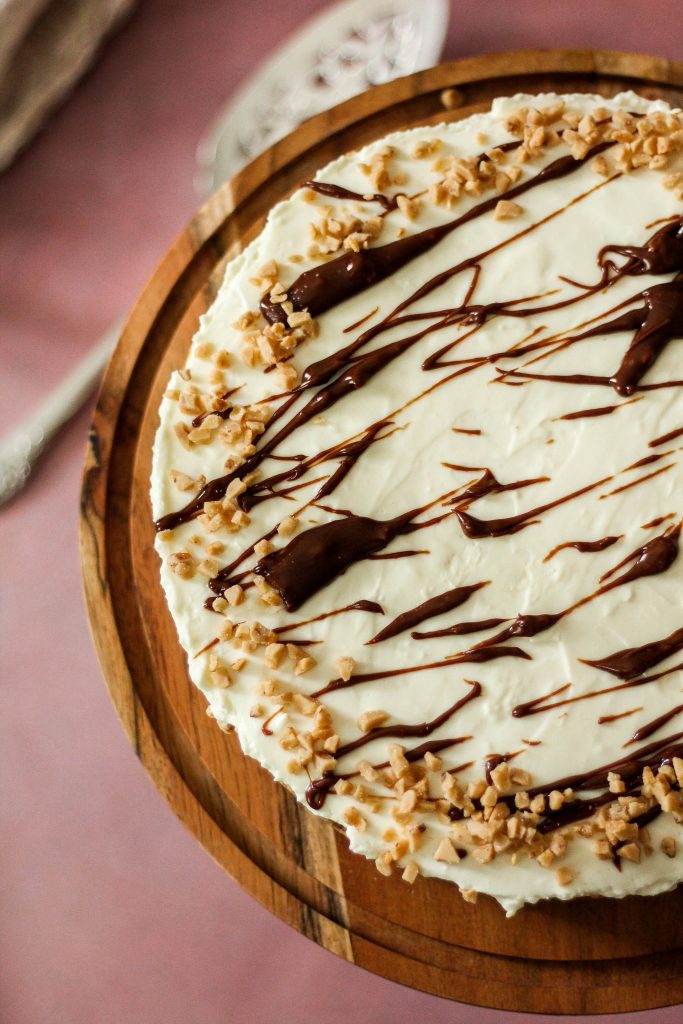
Get ready for the ultimate lazy-day luxury with this no-bake Heath Bar cheesecake. A buttery, brown-sugar graham cracker crust holds a velvety, cloud-like cream cheese filling, all crowned with a decadent drizzle of chocolate, caramel, and a mountain of crunchy English toffee. It is pure dessert heaven with absolutely zero oven time required.
What will you need for Heath Bar Cheesecake?
What is great about this cheesecake is that it is a no bake cheesecake. I took a tip from Sally's Baking Blog.
For the crust:
- 2 cups graham cracker crumbs
- ⅓ cup brown sugar
- 1 stick butter = 8 tablespoon (melted)
For your filling:
- 1 ¼ cup heavy cream
- Three 8 ounce blocks of cream cheese
- ½ cup granulated sugar
- 2 tablespoon confectioners sugar
- ¼ cup sour cream
- 2 teaspoon lemon juice
- 1 teaspoon vanilla
For your topping:
- Heath!
- Melted chocolate
- Melted caramel (optional)
How do you make it?
Begin with your crust:
- Mix all of your crust ingredients together and pour into a 9 or 10 inch springform pan.
- Pack it very tightly- use the bottom of a measuring cup to pack it. The tighter it is packed the better.
- Place in the freezer for 10-15 minutes.
For the filling:
- Use the whisk attachment on a handheld or stand mixer and whip the cold cream until it has stiff peaks (do this on a medium/high speed for 4-5 minutes)
- In a separate bowl, use the whisk or paddle attachment and whip the cream cheese and granulated sugar on medium speed. Scrape the sides of the bowl. Add your sour cream, lemon juice, confectioners sugar, and vanilla. Beat for 2-3 minutes on a medium high speed. If there are lumps, keep mixing until there are none.
- Using your mixture on a low speed or with a rubber spatula, fold in the whipped cream into the mixture. This is a slow process as you do not want to knock the air out of your cream.
- Remove crust from the freezer and fill the crust with your filling. Smooth the top with an offset spatula.
- Cover tightly with plastic wrap or aluminum foil. Chill for 6-8 hours at a minimum. 12 hours is ideal.
- Use a knife to loosen the cheesecake crust. Then remove the rim.
- Once removed- add the toppings.
- Melt chocolate and spread across the top of your cheesecake, and add your pieces of heath.
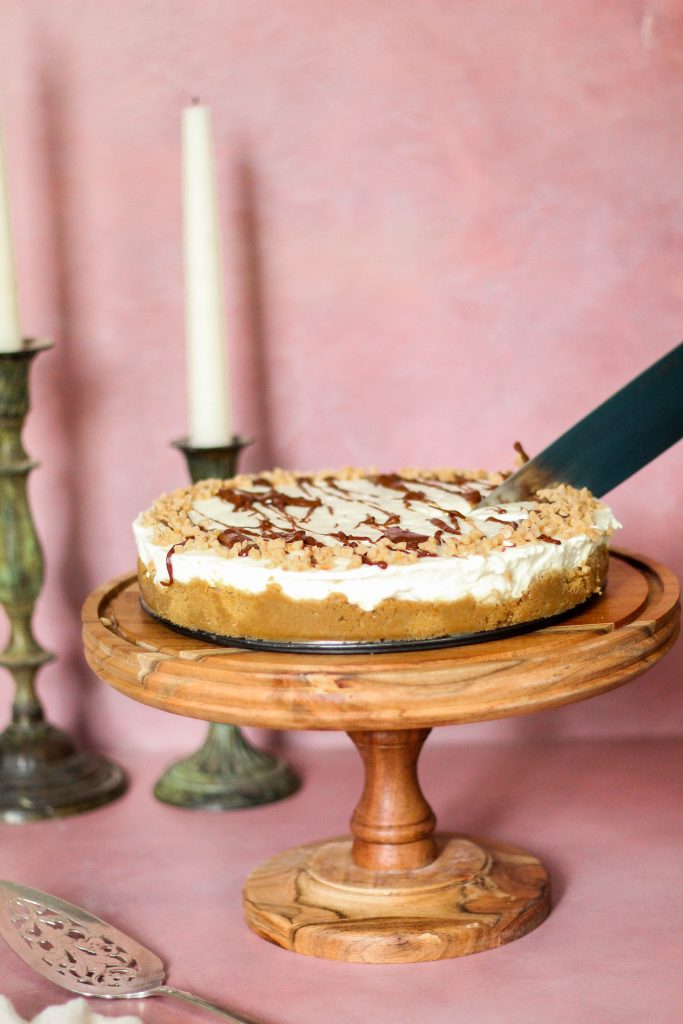
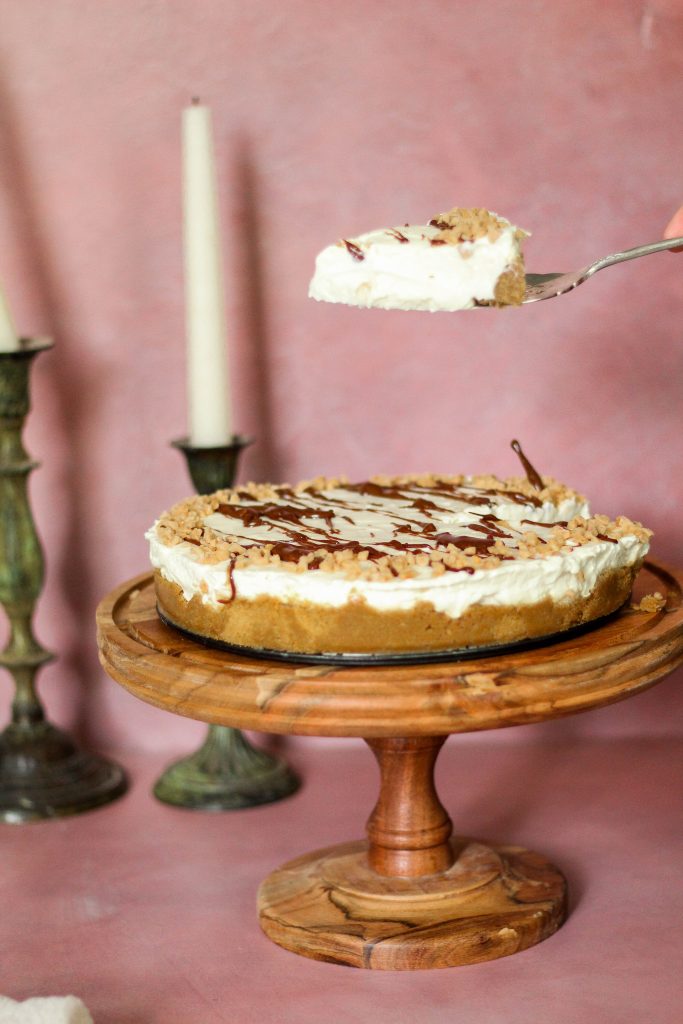
- Cut the cheesecake with a clean sharp knife. If you want clean slices, wipe knife after each cut.
- Serve, and enjoy!
Why should you make a Heath Bar Cheesecake?
Cheese (in general) is delicious. I love to add it to pretty much anything I can if I can get away with it. This cake though, it is unique, delicious, sweet and tangy at the same time. It is worthy of any holiday and really, just any day of the week.
Print
Heath Bar Cheesecake
Description
These heath bar cheesecake is a the perfect no bake treat for you and your family.
Ingredients
For the crust:
- 2 cups graham cracker crumbs
- ⅓ cup brown sugar
- 1 stick butter = 8 tablespoon (melted)
For your filling:
- 1 ¼ cup heavy cream
- Three 8 ounce blocks of cream cheese
- ½ cup granulated sugar
- 2 tablespoon confectioners sugar
- ¼ cup sour cream
- 2 teaspoon lemon juice
- 1 teaspoon vanilla
For your topping:
- Heath!
- Melted chocolate
- Melted caramel (optional)
Instructions
Begin with your crust:
- Mix all of your crust ingredients together and pour into a 9 or 10 inch springform pan.
- Pack it very tightly- use the bottom of a measuring cup to pack it. The tighter it is packed the better.
- Place in the freezer for 10-15 minutes.
For the filling:
- Use the whisk attachment on a handheld or stand mixer and whip the cold cream until it has stiff peaks (do this on a medium/high speed for 4-5 minutes)
- In a separate bowl, use the whisk or paddle attachment and whip the cream cheese and granulated sugar on medium speed. Scrape the sides of the bowl. Add your sour cream, lemon juice, confectioners sugar, and vanilla. Beat for 2-3 minutes on a medium high speed. If there are lumps, keep mixing until there are none.
- Using your mixture on a low speed or with a rubber spatula, fold in the whipped cream into the mixture. This is a slow process as you do not want to knock the air out of your cream.
- Remove crust from the freezer and fill the crust with your filling. Smooth the top with an offset spatula.
- Cover tightly with plastic wrap or aluminum foil. Chill for 6-8 hours at a minimum. 12 hours is ideal.
- Use a knife to loosen the cheesecake crust. Then remove the rim.
- Once removed- add the toppings.
- Melt chocolate and spread across the top of your cheesecake, and add your pieces of heath.
- Cut the cheesecake with a clean sharp knife. If you want clean slices, wipe knife after each cut.
- Serve, and enjoy!
Notes
Once done- you can re-cover the cheesecake and keep it in the fridge for up to 5 days.
Enjoy!
Leave a Reply